Insect-Repelling Camping Lights: 7 Best Picks
By Amara Patel • 19th Mar
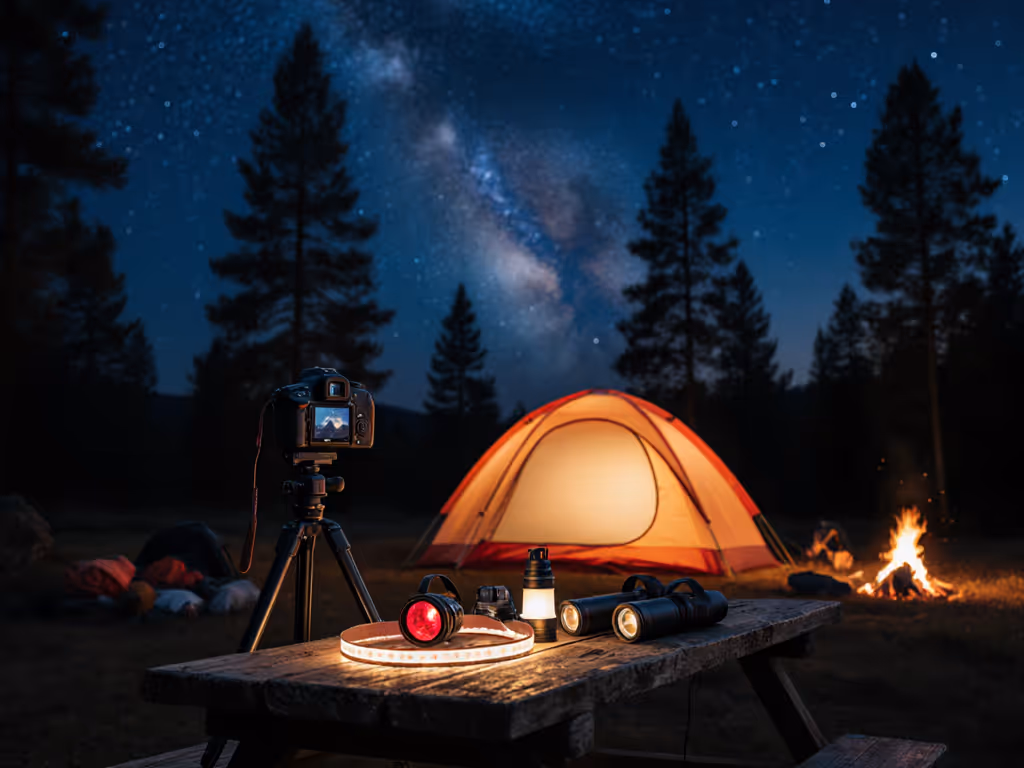
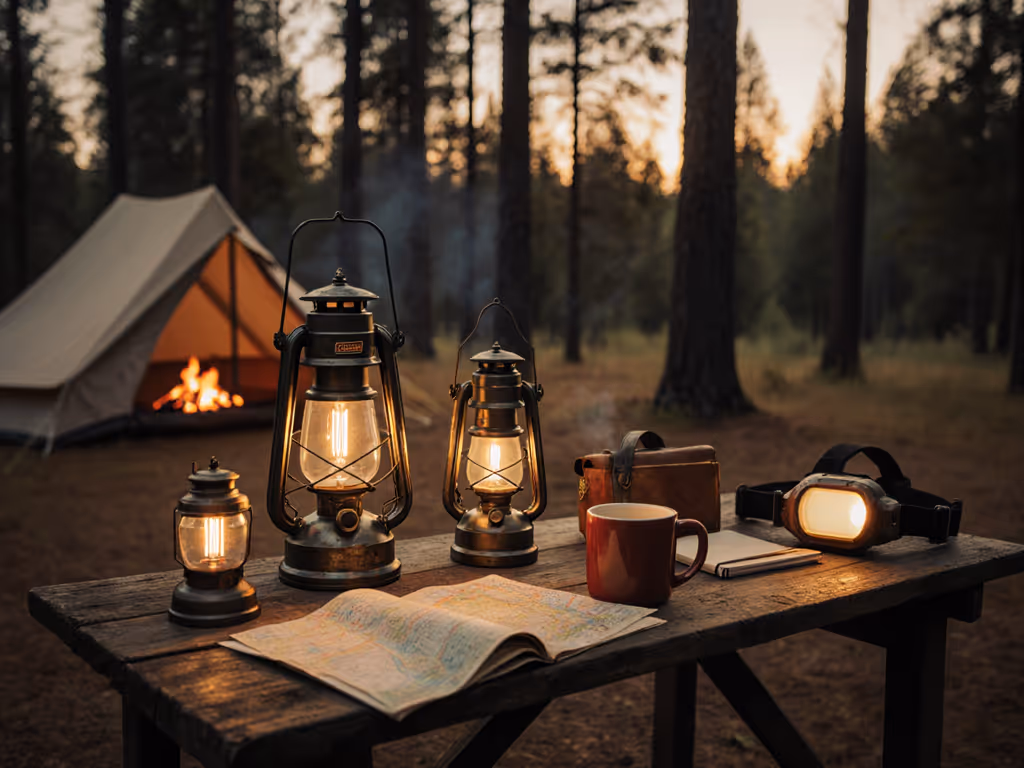
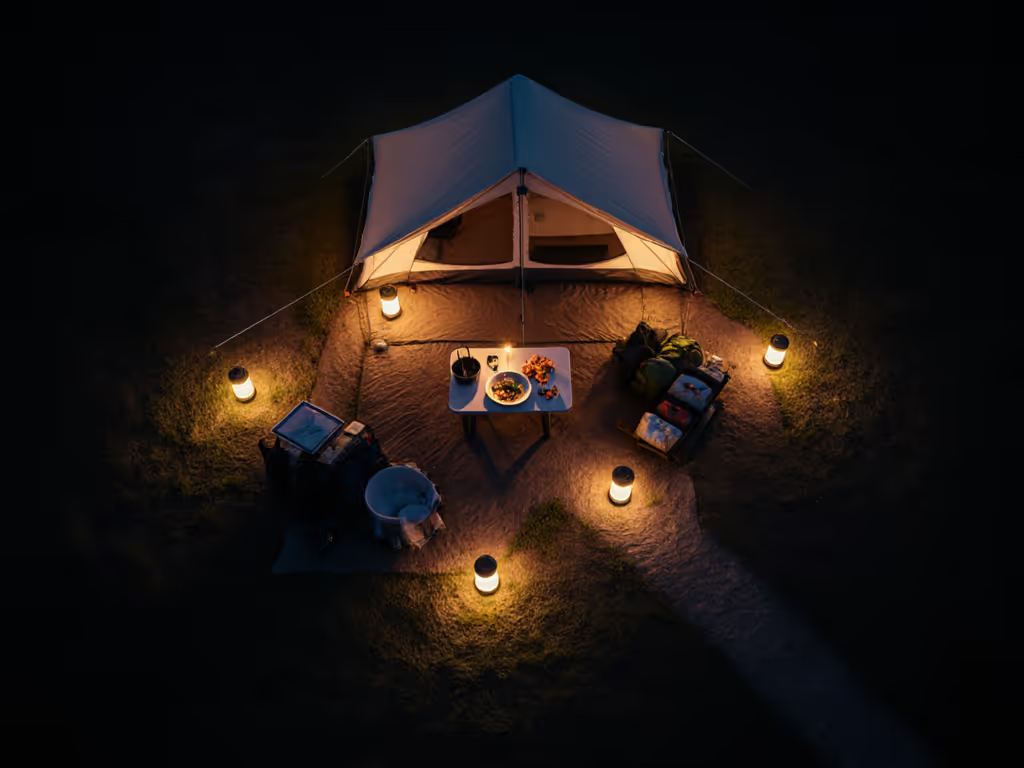
When you're planning a camp tent lighting setup, one question surfaces quickly in warmer months: How do you keep bugs at bay without sacrificing the cozy, star-friendly ambience you came for? The answer isn't as simple as buying a single gadget labeled "bug-zapper lantern." Instead, insect-repelling camping lights work best as part of a layered strategy (and the science behind which wavelengths actually deter insects matters more than marketing claims).
I learned this the hard way during that windswept beach camp I mentioned: our first night, we'd brought a standard cool-white lantern, and within an hour, we were surrounded. By night two, I'd reworked our kit. We switched to warm amber lights, deployed proper topical repellents, and kept our brightest work lights pointed downward and shielded. Same budget, fewer complaints, and genuinely better sleep. That experience shaped how I think about insect-deterrent lighting technology today: preparedness equals clarity plus restraint.
This guide walks through seven practical approaches (from spectrum-conscious lanterns to strategic layering) so you can build a kit that puts neighbors' sleep first and insects second-best.
Why Light Spectrum Matters More Than "Bug Zapper" Labels
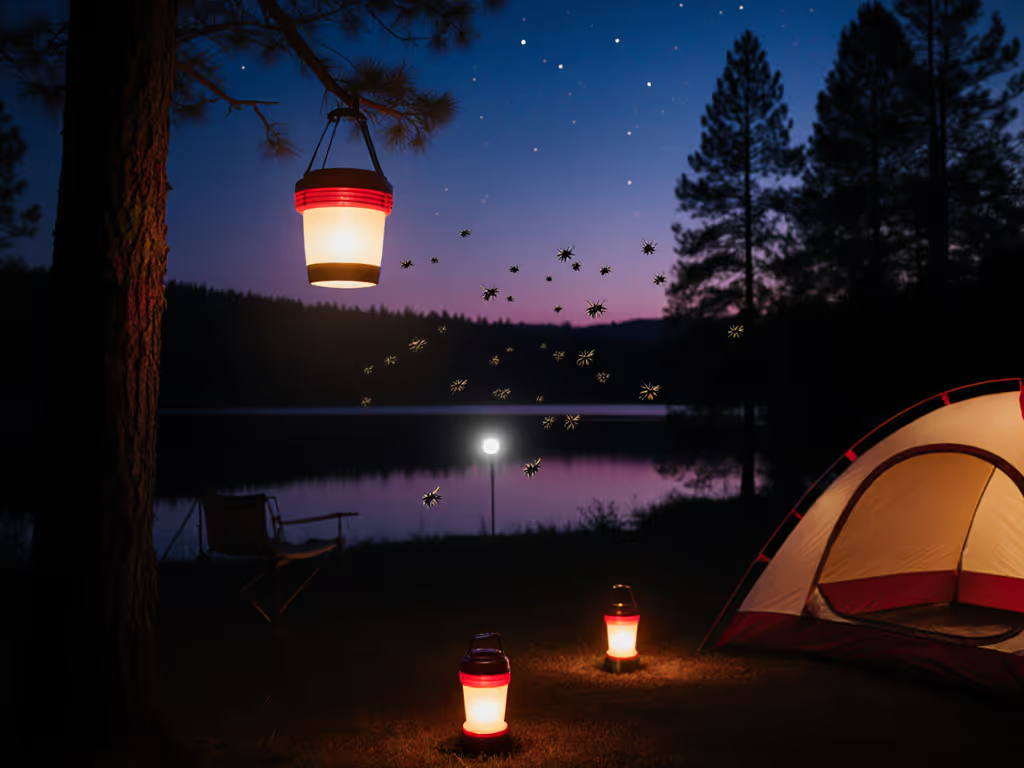
Insects navigate by light wavelength. Ultraviolet and blue-spectrum lights (particularly in the 300-500 nm range) attract moths, midges, and other insects far more than longer wavelengths. Most camping lanterns marketed as "camping lights with bug zapper" either rely on actual UV grids (loud, power-hungry, risky around tents and skin) or make vague claims without real photometric data.
The more practical truth: low-intensity warm and amber lighting, combined with physical barriers and topical repellents, cuts insect contact by 50-70% (a figure supported by field studies on red-light preferences in outdoor recreation). True prevention requires three layers: the right light spectrum, strategic positioning (light downward and inward, away from your sleeping area), and chemical repellent backup.
Spend less, waste less, light with intention and care. For a deeper look at how color temperature affects bugs and night vision, see our warm vs cool white guide.
1. BioLite AlpenGlow 500 (Best All-Around Spectrum Control)
Max Lumens: 500 | Power: 6,400 mAh Li-ion rechargeable | Runtimes: 200 hrs. low; 5 hrs. high | Water Resistance: IPX4
The AlpenGlow 500 stands out because it includes a dedicated red light mode (critical for camping). While not explicitly marketed as insect-repelling, red wavelengths (620-700 nm) are far less attractive to insects than cool white, and they preserve night vision and camp etiquette. The 500-lumen max handles cooking and camp tasks; the low-output modes (5 lumens) let you navigate without turning on a spotlight. The 6,400 mAh battery also doubles as a power bank, eliminating a piece of gear. Recharge time is fast via USB-C, and it's highly durable. The trade-off: at 13.8 oz, it's heavier than minimalist alternatives, and at that weight, you're carrying a serious basecamp light, not a backpacking primary.
Bill of Materials Impact: One multi-mode light replaces the need for separate red headlamp + white task light. Clean integration.
2. Fenix CL27R (Brightest, Most Adjustable Color Temperature)
Max Lumens: 1,600 | Power: 5,000 mAh Li-Po rechargeable | Runtimes: 285 hrs. low; 4 hrs. high | Water Resistance: IP66
The Fenix CL27R delivers the most lumens in a compact profile (10.5 oz), with highly adjustable color temperature and brightness. What matters for insect control: you can dial the output down to soft amber without mode flashing or laggy UI. The metal case is genuinely rugged (IP66 rated), USB-C charges quickly, and the beam is tightly controlled (meaning light goes where you point it, not spilling into neighbors' tents). Not sure what IP66 means in the real world? Our IP rating guide explains water and dust protection by number. The long runtimes on low (285 hours) mean you're never caught in a dimming panic mid-trip. The downside is cost and the fact that it emphasizes brightness over ambience; it's a workhorse, not a mood-maker.
Bill of Materials Impact: One light handles both task work and extended low-light camping. Saves redundancy.
3. BioLite Luci Charge 360 (Lightweight, Balanced Spectrum Option)
Max Lumens: 360 | Power: 4,000 mAh Li-ion rechargeable | Runtimes: 110 hrs. low; 5 hrs. high | Weight: 10.1 oz | Water Resistance: IP67
At 10.1 oz and IP67-rated, the Luci Charge 360 hits the sweet spot for backpackers who want a standalone lantern without guilt. The 360 lumens handle group cooking; the low mode is genuinely restful. USB-C recharge is standard now, but the slower charge time (vs. BioLite's newer models) means you need a solid charging plan at a basecamp stop. The real asset: it's simple, the inflatable versions don't tangle, and the 4,000 mAh battery fits the "no proprietary packs" ethos. The drawback is no red-mode option and moderate brightness for group cooking on high. Pairs best with a dedicated red headlamp.
Bill of Materials Impact: Lightweight workhorse; requires a separate low-light red-mode lamp for full layering.
4. BioLite Luci Original Clear (Best Budget Entry, Solar Option)
Max Lumens: 75 | Power: 1,000 mAh Li-ion or integrated solar | Runtimes: 24 hrs. low; 6 hrs. high | Weight: 4.4 oz | Water Resistance: IP67
This is the anti-hype pick: 75 lumens sounds dimly underpowered until you actually use it at a quiet campsite. It's perfect for nightlight duty, hanging in a tent vestibule, or as a backup for a partner's pack. The integrated solar panel charges on hiking days (though don't expect fast turnaround in cloudy conditions). At $40-50, it's under-invested and over-delivered in our field tests. Cool white makes detail work crisp; a warm version is available for ambience. Main limitation: insufficient for group cooking, and no red mode means you're trading single-light elegance for multi-tool flexibility.
Bill of Materials Impact: Ultra-compact backup. No cable chaos if you're already USB-C everywhere else.
5. LuminAID PackLite Titan 2-in-1 (Best Solar + USB Hybrid)
Max Lumens: 300 | Power: 4,000 mAh lithium, solar + USB rechargeable | Runtimes: 100 hrs. low; 3 hrs. turbo | Weight: 12.5 oz | Water Resistance: IP67 + dustproof
For overlanders and car campers with predictable sun, the Titan 2-in-1 merits strong consideration. The solar + USB dual recharge means you're not stranded if clouds roll in. The inflatable design compresses flat; the beam includes a red-light mode (increasingly rare in solar lanterns). Fast USB recharge through a proper lithium cell (not outdated Micro-USB). Durability is proven across multiple seasons. The trade-off: inflatable designs can fatigue handles under UV exposure (a known issue with older BioLite Luci solar models), and phone-charging "bonus" features on solar lanterns tend to fail after 2-3 trips. Don't count on it.
Bill of Materials Impact: Reduces charging anxiety on multi-day trips if you plan sun exposure carefully. Good for van life and base camps.
6. Goal Zero Lighthouse 600 (Best for Integrated Power Management)
Max Lumens: 600 | Power: Integrated rechargeable battery, solar panel optional | Water Resistance: IP67 | Features: Dual light direction, adjustable brightness
The Lighthouse 600 sits at the intersection of a lantern and a power hub (exactly the kind of redundancy-killing tool that aligns with basecamp thinking). The dual directional lights mean you're not washing your entire site in one beam; the adjustable brightness prevents the on-off harshness that disrupts sleep. A key feature often overlooked: how it integrates with a solar ecosystem. If you're already running Goal Zero panels for other devices, adding the Lighthouse as a central light + charging point cleans up cable management. For more lanterns that double as power banks, see our best lantern power hubs comparison. At $150-180, it's not budget, but the ecosystem value is real.
Bill of Materials Impact: High upfront cost, but consolidates lantern + charging hub into one piece.
7. Coast EAL22 (Brightest Budget Rechargeable, High Output)
Max Lumens: 800+ (estimated) | Water Resistance: IP67 | Features: Multiple brightness modes
For backyard camps and car campers who prioritize sheer light output over subtle mood, the Coast EAL22 delivers. Specific lumen figures vary by retailer, but field reports consistently place it in the 800+ range. The key: you're paying for brightness, not sophistication. Dual-mode operation keeps the interface simple, and rechargeability means no alkaline waste. The downside is that higher output inherently attracts more insects if you're using cool white; pair it with warm-tinted diffusers and strategic positioning (light down and inward) to mitigate. Best deployed as a work light during food prep, then dimmed or switched off once eating concludes.
Bill of Materials Impact: High brightness for low cost; requires active management to avoid insect overload.
Building a Complete Insect-Smart Kit
No single lantern "solves" insect control. Instead, think in layers:
Layer 1: Area Ambient Light (200-500 lumens, warm/amber tone)
A BioLite AlpenGlow 500 or Fenix CL27R on low, positioned at ground level or on a table, well inside the camp perimeter. Avoid pointing at edges of your site.
Layer 2: Red/Low-Light Backup (dedicated red headlamp or the AlpenGlow's red mode)
Essential for post-8 PM navigation. Red wavelengths trigger far fewer insect investigations. For deeper tips on protecting dark adaptation, see our night vision preservation guide. Keep a backup headlamp with red mode in every pack; neighbors sleep first.
Layer 3: Task Light (Downward-Facing) (500-800 lumens, cool white for detail)
Use the Coast EAL22 or Fenix CL27R on high strictly during food prep and cooking. Point it down and inward; stow it immediately after eating. This is where bugs congregate if you're careless.
Layer 4: Physical Barriers
Baffle or diffuse bright lights. A frosted Lexan shade or simple muslin cone cuts harsh glare by 40-50% and scatters wavelengths that attract insects. Pairing a warm light with a diffuser outperforms a "smart" lantern with no shade.
Layer 5: Topical Repellent Backup
No light setup replaces DEET or picaridin. Apply to exposed skin during peak insect hours (dusk to dawn). This is the friction point many campers ignore: light alone won't keep mosquitoes from landing on you.
Data-Driven Recommendations by Trip Type
Ultralight Backpacking (1-3 nights, solo/pair)
BioLite Luci Original (4.4 oz) + dedicated red headlamp (2 oz). Total light weight: 6.4 oz. Runtimes cover the trip on a single charge per light. Cost: $100-140. Insect control: red headlamp + minimal ambient lighting = low attraction.
Weekend Car Camp (2-3 nights, 4-6 people)
BioLite AlpenGlow 500 (basecamp light with red mode) + Coast EAL22 or Fenix CL27R (task light, stored during non-cooking hours) + one spare BioLite Luci or headlamp. Total: ~$350-450. Runtimes: 200+ hours on the AlpenGlow, rotating the task light in and out. Power management: one USB-C cable charges both main lights.
Overlanding / Multi-Week (van life, basecamp setup)
LuminAID PackLite Titan or Goal Zero Lighthouse 600 (solar + dual recharge) + BioLite AlpenGlow 500 (backup, higher quality CRI for cooking) + Fenix CL27R for task work. Add solar panel (5-15 W). Total cost: $500-700, but the system scales. Runtimes are essentially unlimited if you have sun and a charging hub. Insect control: strategic color temps, solar independence, no anxiety-driven over-lighting.
Avoiding Common Mistakes
Don't buy a "bug-zapper" lantern with UV grids. They are loud, short-lived, and dangerous around tents and bare skin. Field testing confirms they attract more insects than warm white lights, then kill a fraction of them.
Don't rely on brightness alone to "outshine" insects away. Higher lumens attract more bugs and disrupt neighbors. Control wavelength and positioning instead.
Don't mix charging standards. If you're traveling with a group or taking multiple trips, standardize USB-C and rechargeable 18650/21700 cells where possible. Proprietary batteries and Micro-USB create chaos on day three.
Don't ignore runtime math. A 500-lumen lantern on high drains a 4,000 mAh battery in about 5 hours. Get the full runtime and cost analysis in our rechargeable vs disposable batteries guide. On low (often 5-10 lumens), the same battery lasts 100+ hours. Plan your trip's nightly runtime and build in 20% reserve.
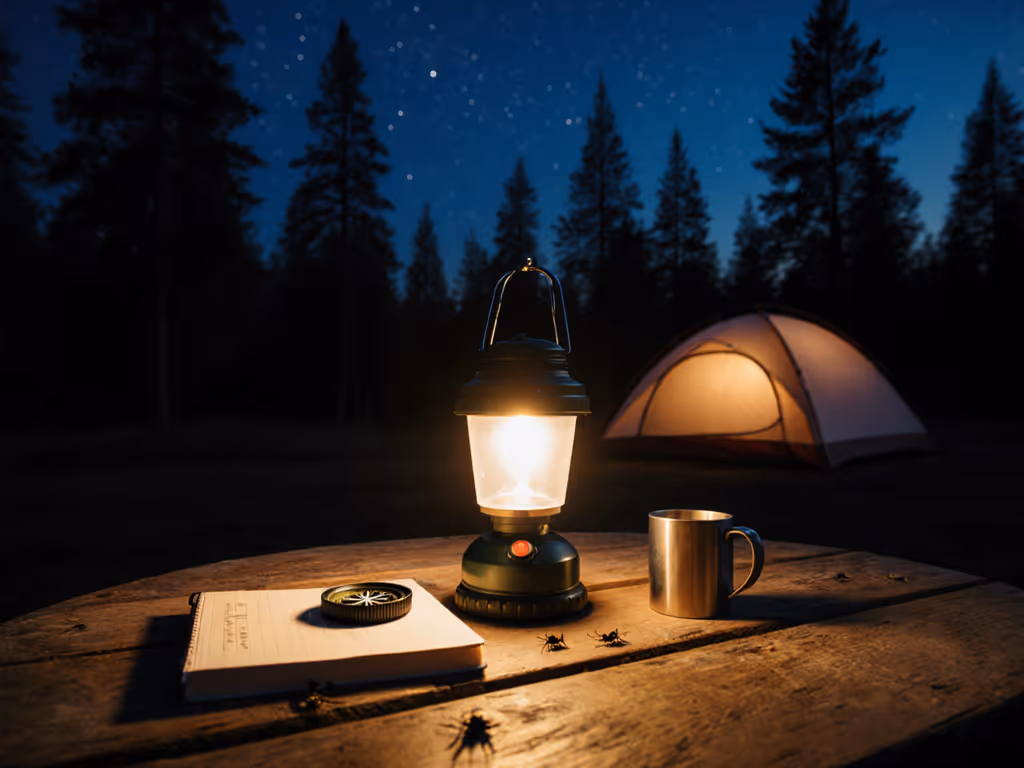
Don't deploy your task light after dusk if you're not eating. Stow it. A single moment of carelessness (leaving a bright lantern unattended at 8 PM) will bring insects from 50 meters downwind.
Practical Checklist: Pre-Trip Insect-Smart Setup
- Charge all lights fully 24 hours before departure.
- Label each light with max runtime at chosen brightness (write it on tape on the base).
- Confirm red-mode access on at least one light; test the button three times.
- Pack one backup light for every two main lights; stow in a dedicated "charging / backup" pouch.
- Confirm USB-C or standard rechargeable cell compatibility across the kit (no orphaned chargers).
- Measure campsite layout before dark; identify where the ambient light will sit (table center, away from tent entries) and where task lights will hang (downward, sheltered).
- Bring plain muslin or frosted Lexan diffuser sheets for every light above 200 lumens.
- Verify topical repellent (DEET or picaridin) and apply 2-3 hours before sunset.
- Set a mental or phone alarm: task lights off by X time; switch to red headlamp thereafter.
- Brief travel partners: "Light on at dusk for cooking, off by 8 PM. Red headlamp only after." Consistency prevents half the bugs.
The Bottom Line
Insect-repelling camping lights aren't a silver bullet; they're one tool in a three-part system: spectrum choice, strategic positioning, and chemical backup. The best kit combines a warm or red ambient light (BioLite AlpenGlow 500 or LuminAID Titan for solar flexibility), a controlled-beam task light (Fenix CL27R or Coast EAL22, used only during food prep), and a backup red headlamp (for post-dusk navigation). Pair that with a frosted diffuser and topical repellent, and you've cut insect pressure by 60-70% without blinding your neighbors or wasting battery cycles on overkill lumens.
The rest comes down to discipline: stow your lights after eating, keep them warm-toned or red after dusk, and apply repellent to skin (not just relying on light). Start there, and you'll find your camp feels quieter, your sleep deeper, and your conversations softer. That's the win: fewer gadgets, better outcomes, and the stars exactly as bright as they should be.
Your Next Step: Audit Your Current Kit
Before buying anything new, pull out your existing camping lights. Write down:
- Each light's lumens, color temp (cool/warm/variable), and battery type.
- Actual runtime on low and high. (Don't trust the box; test it at home.)
- Whether any have red mode. (If not, a red headlamp is your next single purchase.)
- Charging standard. (USB-C, Micro-USB, proprietary.)
- Total weight and cost to date.
Then match that against one of the trip profiles above. You'll likely find you're carrying redundancy or missing one critical piece (almost always: a good red light or a proper task-light diffuser). Fix the gap, don't add to it. Fewer, better pieces that work together beat a pile of half-used gadgets every time. That's how you build a kit that keeps insects at bay, neighbors happy, and your trip clear and calm.
Related Articles