Vintage Camping Lights Buying Guide: Cozy Looks, Smart Tech
By Sofia Alvarez • 6th Jun
Vintage camping lights and retro-style lanterns promise something specs alone never do: that warm circle of light where people lean in, speak softer, and the forest stays dark around the edges. This guide is for campers who want that nostalgic mood and modern reliability - cozy looks, smart tech, no battery panic.
Design-minded campers feel every mismatch: a beautiful enamel mug under cold-blue glare, sleepy kids jolted awake by a harsh lantern, a table cluttered with cables that don't fit anything else. I've spent years evaluating lanterns as objects you live with - not just lumen cannons - and the pattern is clear: quiet objects, clear nights win every time.
In this guide, we'll walk through how to choose vintage-style lighting that respects dark skies, keeps runtimes predictable, and layers into a coherent kit instead of a drawer of pretty-but-useless gadgets.
Design you barely notice is doing its best work.
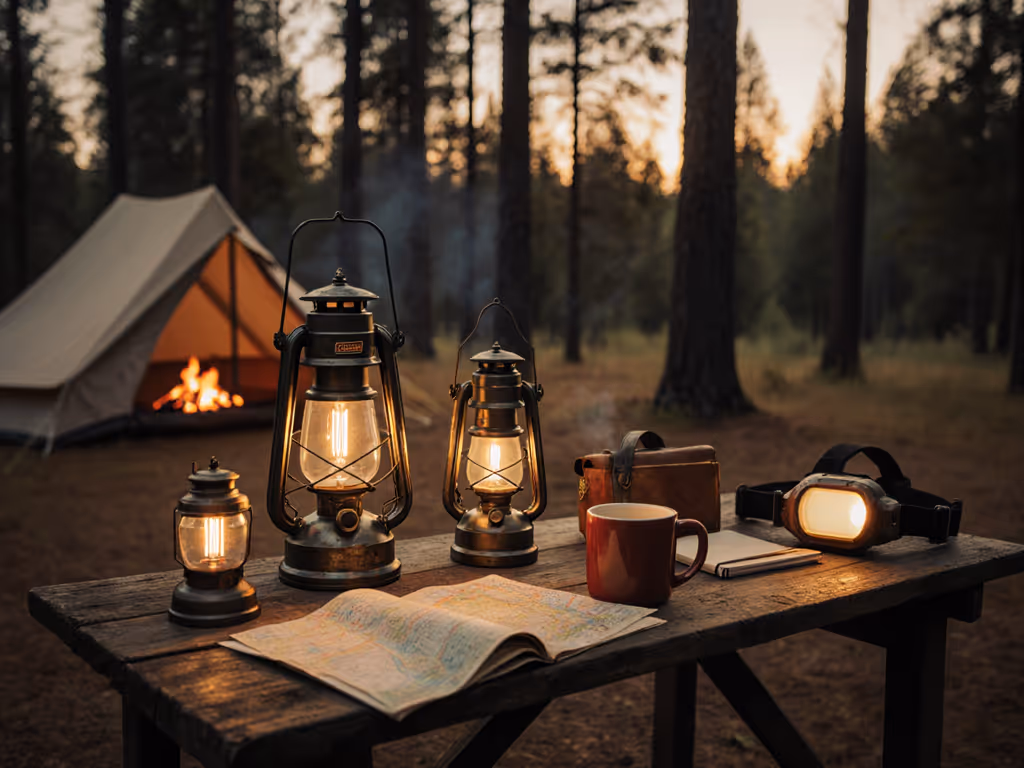
1. What "Vintage" Really Means in Camp Lighting
When people say vintage camping lights, they often mean the feeling, not a specific decade. That feeling usually comes from a few design moves:
- Heritage silhouettes - shapes borrowed from gas lanterns, hurricane lamps, and ship lights: domed tops, wire guards, painted steel, brass accents.
- Warm, low-contrast light - the visual memory of mantles and kerosene: amber or candlelike white, gentle transitions between light and dark.
- Visible structure - shades, cages, knurled knobs, and screws you can actually see and understand.
- Simple controls - a single knob or lever instead of a clicky maze of modes.
Modern LEDs let us keep that heritage design lighting while fixing the old problems: soot, noise, weight, and volatile fuel. But good design still asks for restraint - especially with brightness, beam shape, and user interface.
If you grew up with older lanterns on the picnic table, you may remember the charm and the fumes. The best modern vintage camping gear recaptures the mood of that brass or enamel relic without recreating its worst habits.
2. Start With Light Quality, Not Lumens
Most spec sheets lead with maximum lumens. For nostalgic outdoor lighting and dark-sky etiquette, that's the least interesting number.
2.1 Color temperature (CCT): aim warm
- Look for 2700-3000K (often labeled "warm white") for primary camp ambience.
- Some "vintage" lanterns push into 2200K or "amber" modes for a candlelike feel - good for night vision and sleep.
Warmer light keeps your pupils more relaxed, preserves more stars, and feels closer to lanterns and candles than to a construction site flood. For deeper color temperature guidance, see our warm vs cool white camping lights.
Around camp, warm or amber light is almost always better than more lumens.
2.2 Tint and CRI: how colors actually look
Manufacturers rarely publish color rendering index (CRI) for lanterns, but if you can find it, CRI 90+ gives noticeably better skin tones, food color, and first-aid visibility.
Low-CRI LEDs turn everything gray-green. You might not clock it consciously, but you will feel it, especially with aesthetic camping equipment where materials and food colors matter.
If specs don't list CRI:
- Look for terms like "high color rendering" or "sunlike LED" (imperfect but one of the few clues).
- Skim user photos; if faces look waxy or sickly, move on.
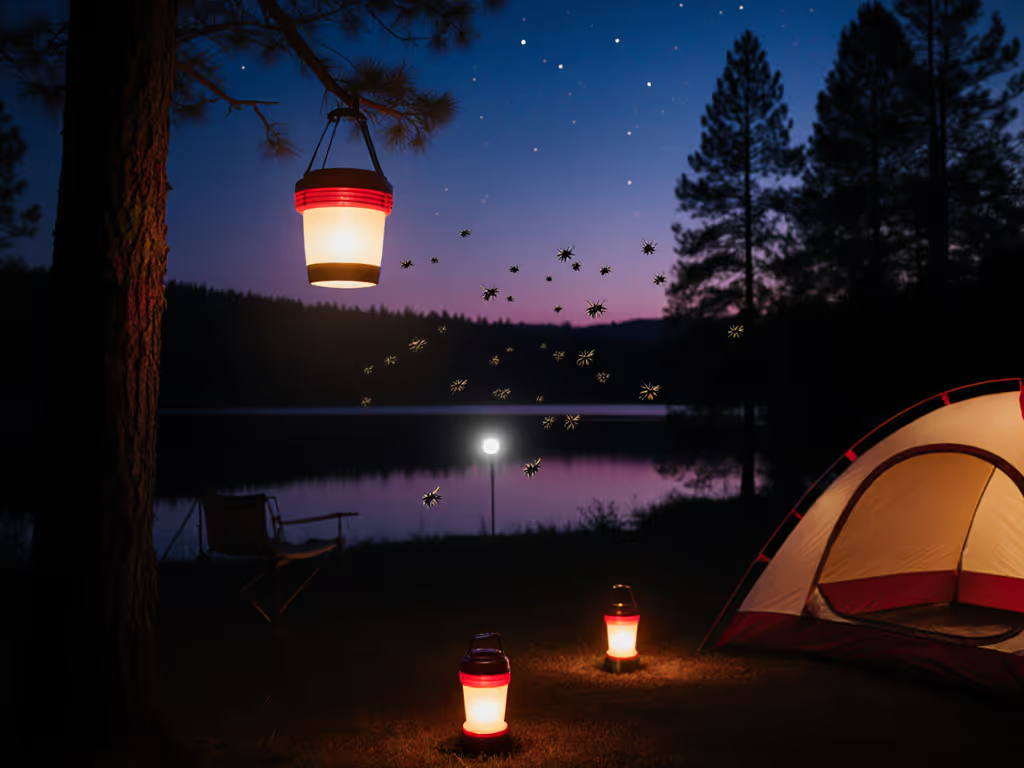
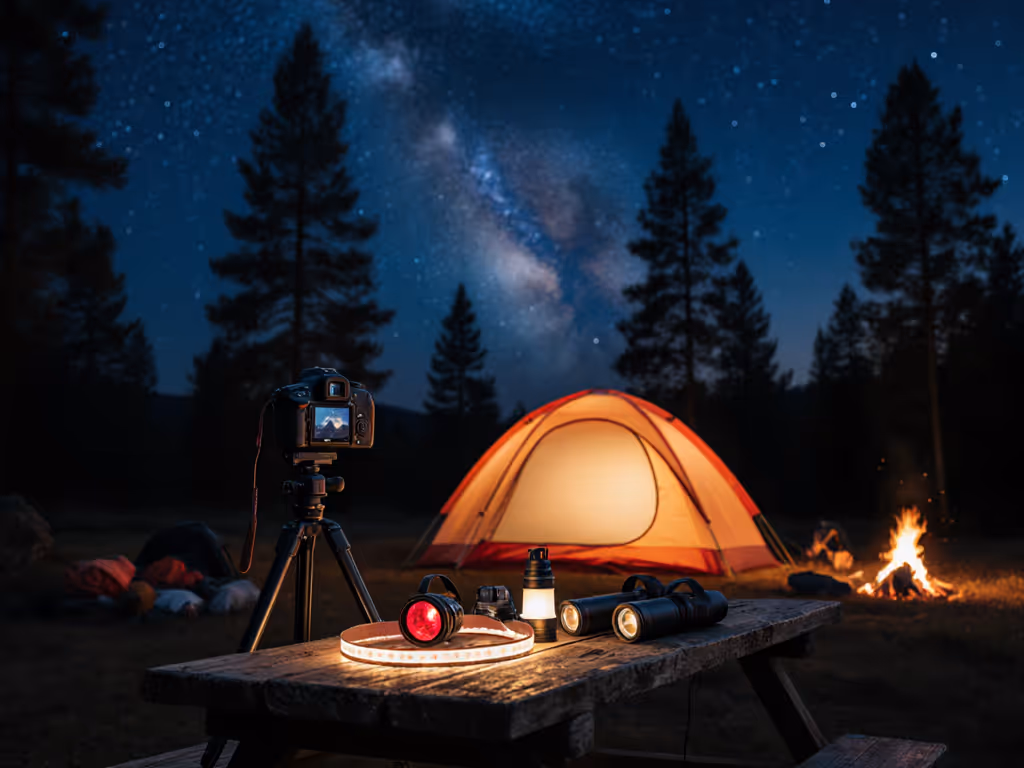
2.3 Beam pattern: diffuse, not blinding
Classic lanterns were naturally diffused; mantles and glass globes glowed in all directions. Many modern LED "retro-style lanterns" still hide a bare LED under a small diffuser, which creates hot spots and harsh shadows.
Prefer:
- Large, matte diffusers - frosted or opal plastic/glass, not clear tubes.
- Indirect setups - LEDs pointing up into a reflector or shade.
- Deep dimming - a smooth ramp from a true nightlight glow to meal-prep brightness.
Buying guides for camping lanterns consistently stress the need to match brightness to task and tent size rather than blasting max output all the time. Deep dimming is how you get vintage mood and runtime savings in one move.
2.4 Target brightness bands
You can ignore inflated "max lumen" marketing and think in three levels instead:
- Nightlight / stargazing: 1-10 lumens at the table or inside the tent
- Conversation / reading: 20-80 lumens for most 2-4 person camps
- Cooking / group tasks: 100-200 lumens focused on the kitchen or prep area
Tent-lighting guides suggest that an average 4-person tent feels comfortable around 50-100 lumens of diffuse light. That fits well with a single lantern on a low or medium mode rather than running it at full blast.
3. Power and Runtime Without Battery Anxiety
The charm of a retro lantern evaporates the moment it clicks off in the middle of a story. Power planning matters as much as aesthetics.
3.1 Rechargeable vs replaceable cells
Most modern vintage camping lights are LED-based and either:
- Use built-in rechargeable batteries (usually lithium-ion)
- Take replaceable cells (AA, AAA, or cylindrical Li-ion like 18650)
General camping light guides highlight that rechargeable batteries are typically more cost-effective over time, while replaceable batteries can be convenient on short trips but more expensive and wasteful in the long run. For a deeper breakdown of costs and use-cases, see our rechargeable vs disposable battery guide. Another common recommendation: always factor in the weight and space of spare batteries or power banks when choosing a light.
For a design-forward, sustainable kit:
- Favor USB-C rechargeable lanterns.
- If possible, consolidate on a single cell type (e.g., all AA/AAA, or all 18650) to simplify spares and chargers.
- Keep one small, efficient lantern that can also serve as an emergency power bank only if it doesn't balloon in size.
3.2 Sizing power for your trips
Manufacturers often quote runtimes in "up to X hours" terms that assume very low modes. Instead of trusting those blindly, build a simple mental model:
- Pick your realistic mode (e.g., lantern at 30-50% brightness for evenings).
- Assume 4-6 hours per night of actual use.
- Aim for 20-30% reserve beyond your planned trip length to avoid mid-trip charging.
Example: Weekend car camp (2 nights), main lantern at mid-brightness for 5 hours/night.
- You need about 10 hours of usable runtime.
- Choose a lantern that honestly delivers 12-14 hours on its medium setting, or bring a power bank.
3.3 Coping with cold and shoulder seasons
Lithium-ion cells lose effective capacity in cold weather. That's rarely spelled out in lantern specs, but most cold-weather camping guides recommend keeping critical battery-powered gear slightly insulated and not relying on max-claimed runtimes in freezing conditions.
Practically:
- Store your main lantern inside the tent or vehicle when not in use.
- In deep cold, consider a lantern with removable cells you can keep inside a jacket pocket until needed.
3.4 Dark-sky ethic: use less, see more
Soft, low light not only saves power but also respects neighbors and stars. Many campsite-lighting guides stress choosing lower brightness levels, positioning lanterns thoughtfully, and avoiding unnecessary spill to keep light on your site.
For vintage-style setups, that restraint also feels more authentic - those old mantles were bright, but they weren't stadium lights.
4. Controls and UI: Vintage Simplicity, Modern Logic
No one wants to explain a 5-click mode cycle around the campfire. Old lanterns had satisfying knobs; modern ones often bury simple actions under complex electronic UIs.
When evaluating retro-style lanterns, prioritize:
- Single control axis - ideally one knob or dial for brightness, maybe a second for color temperature.
- Instant low - a way to start on a low or warm setting at night, not on a blinding high.
- Logical sequence - low -> medium -> high, not a random shuffle through flashing or SOS.
- Reliable lockout - a physical switch-off or long-press lock so it doesn't turn on in your duffel.
Lighting guides routinely warn about confusing user interfaces and the risk of accidentally activating bright or flashing modes. With vintage-themed gear, this dissonance is even more jarring; a faux-brass housing with a gamer-light UI is a hard pass.
Look for:
- Stepless dimming knobs - closest thing to the old fuel valve.
- Mode memory - lantern returns to last used setting.
- No party RGB - stays within white/amber/red as needed; gimmicky color cycles are off-theme and waste power.
5. Mounting, Diffusion, and Etiquette: Keeping Light on the Table
Your lantern's hardware matters as much as its lumen count.
5.1 Hanging and standing options
You want flexibility without a bin of adapters:
- Bail handle with a comfortable radius for hanging on branches or hooks.
- Low center of gravity and a broad base so it's hard to tip on a picnic table.
- Optional tripod or pole socket if you often cook on standing-height camp kitchens.
General camping-lighting advice recommends having at least one portable light for moving around (headlamp or torch) and another that can hang to illuminate your main area or tent. A good vintage-style lantern should be comfortable doing double duty as table and tent light.
5.2 Glare control
Etiquette-friendly camp lighting is about keeping brilliance off other people's retinas:
- Prefer 360° diffusers that are tall enough to hide the LEDs from direct view.
- Bonus points for shades or hoods that block upward spill so you keep more stars.
- If your lantern has a clear globe, consider a clip-on diffuser or even a simple homemade shade.
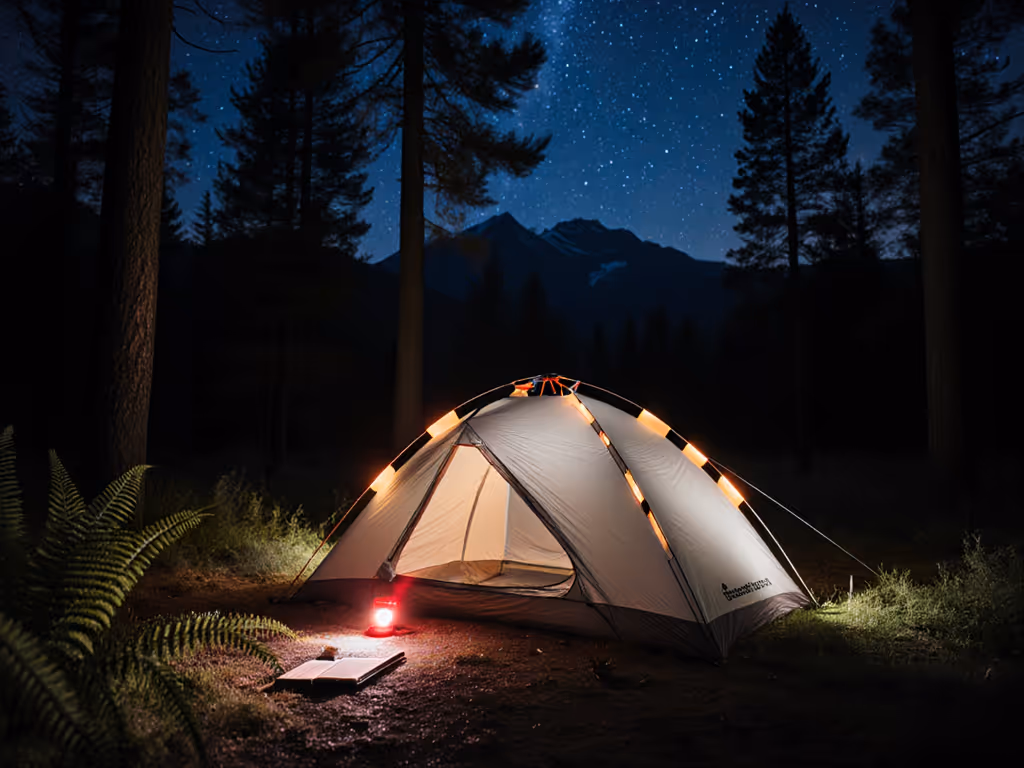
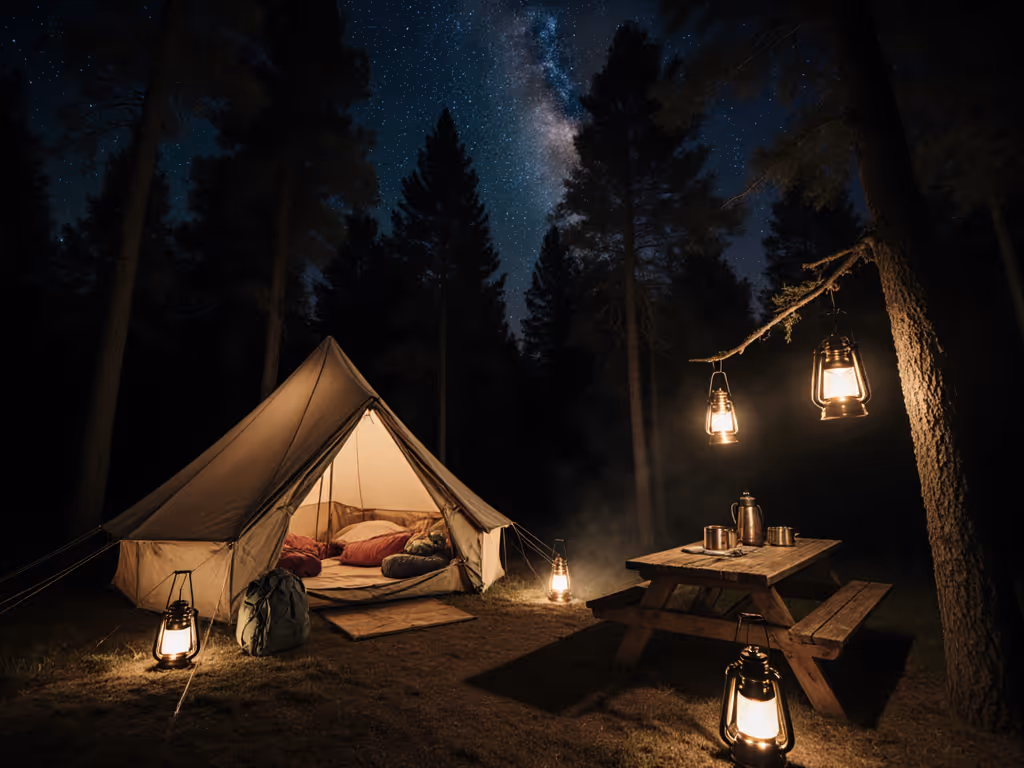
5.3 Special roles: tent, path, and kids
Think in layers:
- Main lantern: warm, dimmable, lives on the table or by the kitchen.
- Tent glow: very low output, amber or warm white, possibly a smaller lantern or string light.
- Path markers: tiny LEDs on ultra-low settings or reflective stakes - enough to avoid tripping, not enough to wake kids.
This layered approach is how you get both safety and that nostalgic outdoor lighting feel - each zone quietly lit, nothing screaming for attention.
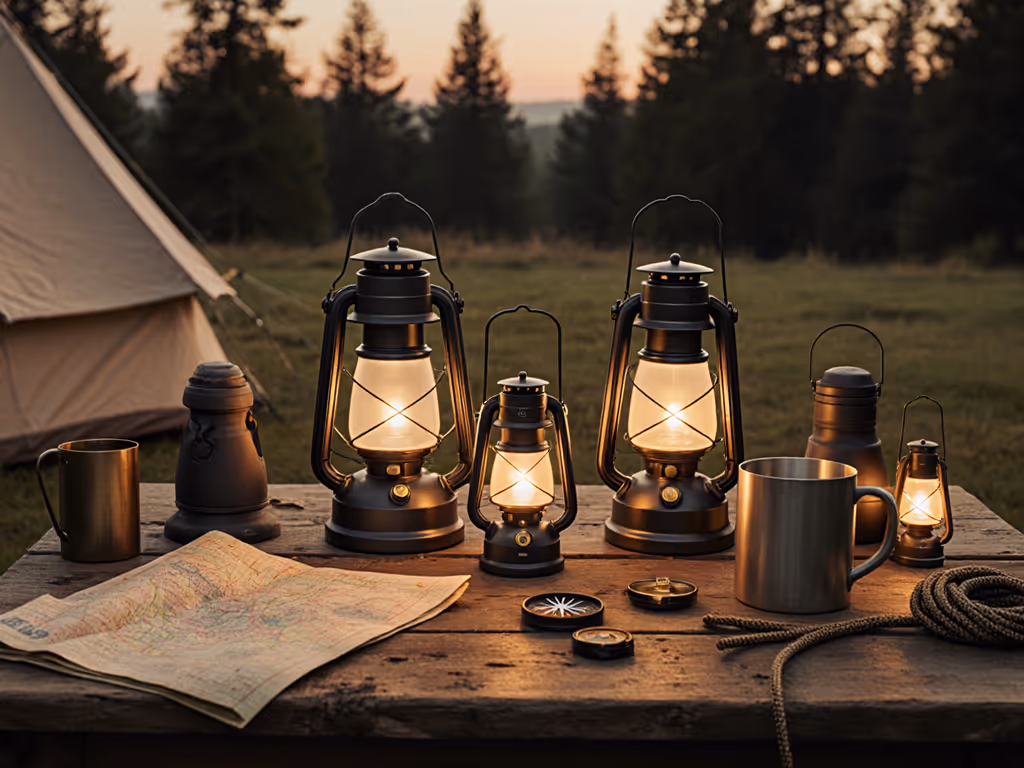
6. Comparing Vintage-Style Lantern Archetypes
Since the affiliate product list here is intentionally empty, let's compare types instead of specific SKUs. These are the four main patterns I see in modern vintage camping gear.
6.1 Full-size "gas lantern" style LED
Look: Tall, often with a wire cage and domed top - clearly referencing Coleman- or Petromax-type lanterns.
Best for: Car camping, vanlife, basecamps, backyard use.
Design strengths:
- Large diffuser for even, soft light around a table.
- Physically stable with a big base.
- Enough thermal mass and battery volume for long runtimes at medium levels.
Potential issues:
- Can be too bright on high; you want fine control at the low end.
- Sometimes oversized for backpacking.
- Some models hide complex UIs behind a nostalgic shell - watch for that.
What to look for:
- 200-400 lumen max is plenty; make sure there's a true low mode under ~10 lumens.
- Warm or adjustable CCT (2700-3000K, plus an amber mode if available).
- USB-C charging and a robust handle that feels trustworthy when fully loaded.
- Housing in powder-coated steel or thick, matte plastic that will age gracefully, not glossy chrome that shows every scratch.
6.2 Compact "heritage" LED lantern
Look: Shorter, sometimes inspired by hurricane lamps or small ship's lanterns; good as a personal light.
Best for: Backpacking with a touch of style, smaller groups, as a second lantern in family setups.
Design strengths:
- Light enough to hang in a tent.
- Lower absolute brightness encourages better etiquette.
- Fits easily into a stuff sack or kitchen bin.
Potential issues:
- Smaller diffusers can create hotspots if not well-designed.
- Built-in tiny batteries may not cover multi-night trips without recharging.
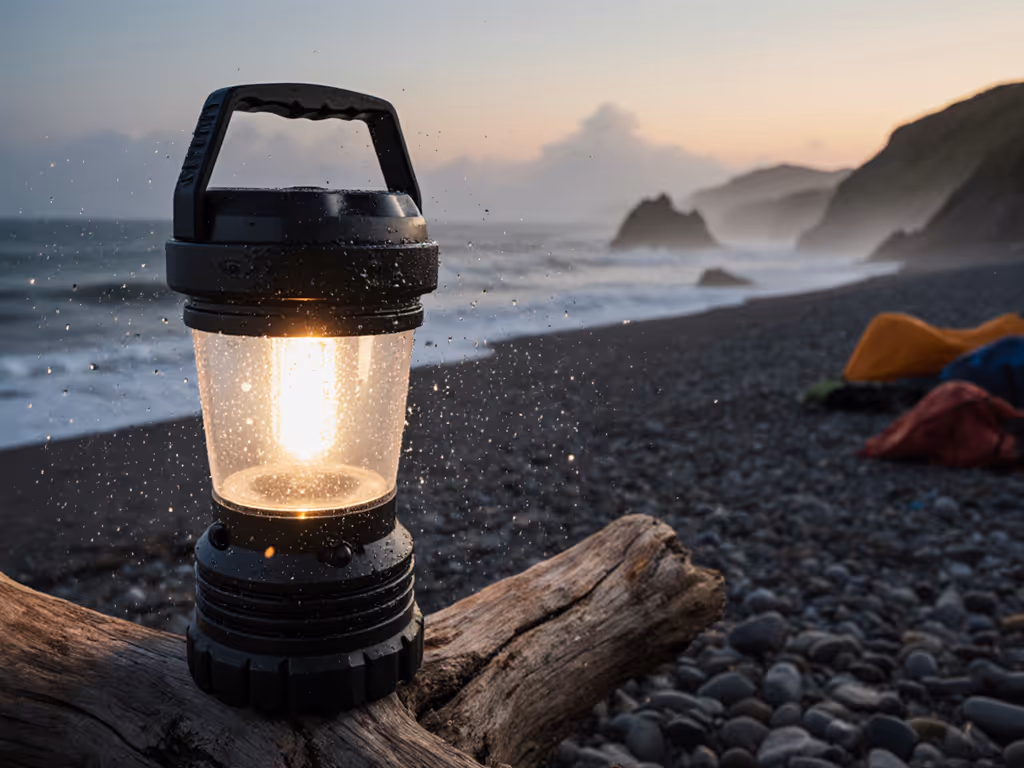
What to look for:
- 100-200 lumen max, but again, judge by runtime at medium.
- Warm CCT and, ideally, stepless dimming via a knob.
- IPX4 or better water resistance for real-world use.
- Replaceable batteries or at least clearly specified battery capacity.
Tent-lighting guides suggest that a 4-person tent is comfortable with around 50-100 lumens. A compact heritage lantern that can sit in that range for several evenings is often all you need inside the tent.
6.3 Vintage-look Edison string lights
Look: Filament-style or Edison bulbs on a cord, sometimes with brass-toned bases or cloth-covered cable.
Best for: Vans, car camping, patios, semi-permanent setups.
Design strengths:
- Beautiful line of light along a tarp edge or awning.
- Great for defining space without a single bright source.
Potential issues:
- Easy to overdo brightness; many are meant for backyards, not dark-sky sites.
- Cable clutter and tangling if not stored carefully.
- May require separate power sources, complicating your ecosystem.
What to look for:
- Shorter strings or individually dimmable segments - avoid "only on full blast" models.
- Warm CCT, ideally 2200-2700K for maximum coziness.
- USB-C or 12V compatibility if integrating with van systems.
- Strain relief on connectors; string lights see a lot of movement and tension.
Many camp-lighting guides caution that decorative lights can be inefficient or too bright for sleeping neighbors. For a practical comparison of roles, see lanterns vs string lights. With string lights, think of them as accent lighting, not the main workhorse.
6.4 Hybrid flashlight/lantern with retro finishes
Look: Cylindrical lights or torches dressed in brass, bronze, or enamel colors with detachable diffusers or rotating heads.
Best for: Minimalist kits, backpackers who still want a nod to vintage aesthetics.
Design strengths:
- One object covers pathfinding and area light.
- Often lighter and more packable than a dedicated lantern.
Potential issues:
- Smaller emitters and optics can be glarey in lantern mode if diffusion is an afterthought.
- UI complexity; many flashlight-derived products inherit turbo modes and multi-click schemes.
What to look for:
- True, comfortable moonlight mode for the tent.
- Clip-on or screw-on diffuser that won't crack easily.
- Consistent UI: quick access to low, no hidden strobe.
7. Quick Comparison: Which Vintage Style Fits You?
| Archetype | Typical Max Lumens | Ideal Use Case | Power Style | Pros | Watch Out For |
|---|---|---|---|---|---|
| Full-size gas-style LED lantern | 200-400 | Car/van basecamp, family table | Large Li-ion, often USB-C | Long runtimes, very diffuse light, stable | Over-bright highs, bulky, complex UIs |
| Compact heritage LED lantern | 100-200 | Tent light, small groups, backpacking | Li-ion or AA/AAA | Lightweight, cozy brightness levels | Short runtimes if tiny battery, hotspots |
| Edison-style vintage string lights | 50-300 (per set) | Vans, awnings, decorative site edges | USB/12V, various | Beautiful ambience, defines space | Too bright, tangled cords, power fragmentation |
| Hybrid retro flashlight/lantern | 200-600 (flash) | Minimal kits, path + area dual use | Li-ion (often 18650/21700) | Versatile, compact, single power ecosystem | Glare, complex UIs, weaker diffusion |
Values are broad ranges drawn from typical camping-lantern offerings in current buying guides. You will see outliers above and below; the key is how they behave at low and medium settings, not how high they go.
8. Materials, Repair, and How These Age
If you're drawn to heritage design lighting, you probably care about how gear ages.
8.1 Materials that wear well
- Powder-coated steel or aluminum develops honest chips and marks rather than peeling.
- Matte polycarbonate diffusers resist scratches better than glossy ones and hide them when they happen.
- Exposed fasteners (screws instead of glued seams) hint at repairability.
Camping light guides often emphasize durability - shock-resistant materials, robust housings, and basic water resistance. For vintage-style lanterns, that intersects nicely with the visual story: a little patina looks right.
8.2 Repairability and e-waste
Common advice from sustainability-minded gear reviewers is to avoid sealed, disposable-only designs whenever possible. In lighting, that means:
- Avoiding lanterns that require proprietary, non-replaceable packs with no path to spares.
- Favoring models where you can at least replace batteries, diffusers, and handles.
If you can't easily access screws or the battery compartment, assume it's a short-lifespan object. For models built to be fixed, browse our repairable tent camping lights. Pretty, but not for the long haul.
8.3 Service paths and spares
Before buying, check whether the brand:
- Sells replacement globes/diffusers.
- Offers battery replacements or at least specifies the cell type.
- Has a clear warranty and support contact.
This is how you avoid a future where a cosmetic crack or tired battery turns a beloved object into trash.
9. Building a Simple, Vintage-Feeling Lighting Kit (Summary & Verdict)
Let's connect all this to the pain points you probably feel: battery anxiety, harsh light, scattered gear, and too many cables.
Here is a clean, heritage-inspired kit that stays dark-sky friendly and easy to manage:
9.1 Core recommendations
- One full-size or compact heritage lantern as your "hearth."
- Warm (2700-3000K), deep dimming, simple knob control.
- USB-C rechargeable, with a runtime that comfortably covers your longest typical trip at medium brightness.
- One tiny, ultra-low lantern or compact light as a tent nightlight.
- Amber or very warm white.
- Runs all night on its lowest mode without disturbing sleepers.
- A headlamp or small torch with instant low/red mode for walking and late-night tasks.
- This isn't vintage, but it keeps the lantern free to be ambience instead of a searchlight.
- Optional short string of warm Edison-style lights for awnings or vans.
- Only if you can dim them to a soft glow and keep cables tidy.
9.2 Power and cables
- Standardize on USB-C for as many pieces as you can.
- Bring one compact power bank sized to trip length + 20-30%, not a brick "just in case."
- Label chargers and cables so storage stays calm - not a nest of guesswork.
9.3 Etiquette and atmosphere
Set a simple rule: no bright modes after quiet hours. Use your heritage lantern at low or amber, tent nightlight barely on, and path lights just strong enough to prevent tripping.
That's where these objects shine. The retro shapes fade into the scene; the light itself becomes the furniture. You get what my own family table had with an old brass lantern - conversation in a warm bubble, the woods kept respectfully dark - updated with LEDs that don't hiss, stink, or fail when you need them most.
In other words: choose quiet objects, clear nights. Let the tech serve the mood, not the other way around.
Related Articles