Lumens Camping Guide: Match Light to Your Needs
By Amara Patel • 3rd Oct
When you're knee-deep in planning your next overnight trip, understanding lumens camping requirements can feel overwhelming, especially when most guides scream "brighter is better." But what if I told you that thoughtful LED camping light selection isn't about maximum brightness? As a community trip organizer who's built dark-sky-friendly kits for everything from backpacking trips to family car camps, I've learned that preparedness equals clarity plus restraint. Fewer, better pieces that work together (not a tangle of mismatched lights) are what transform a chaotic campsite into a peaceful sanctuary. Spend less, waste less, light with intention and care.
After years of watching campers burn through batteries and disturb neighbors with inappropriate lighting, I've refined a practical approach to selecting the right brightness levels for every camping scenario. Let's cut through the marketing hype and establish what you actually need for a restful, functional camp experience.
A Practical Lumen Guide for Campers
Here's your field-tested checklist for matching light output to your specific camping needs, without the battery anxiety or glare that keeps neighbors awake.
1. Understand Lumens vs. Watts: Your Brightness Foundation
Lumens measure visible light output, while watts measure energy consumption. For modern LED camping lights, this distinction is critical, and you will find 100-lumen LED lights that use less power than a 20-lumen incandescent. This efficiency is why LED light for camping has become the standard for thoughtful trip planning.
When evaluating light output in camping contexts, remember:
- 10-30 lumens: Perfect for reading inside a tent without ruining night vision
- 50-100 lumens: Ideal nightlight for children or navigating within your sleeping area
- 100-200 lumens: Sufficient for tent interior lighting during group activities
- 200-400 lumens: The sweet spot for cooking and campsite tasks
- 500+ lumens: Only necessary for large group campsites or emergency situations
I learned this lesson on a windswept beach trip where we'd brought too many high-lumen lights, only to watch batteries disappear by night two while conversation suffered from the harsh glare.
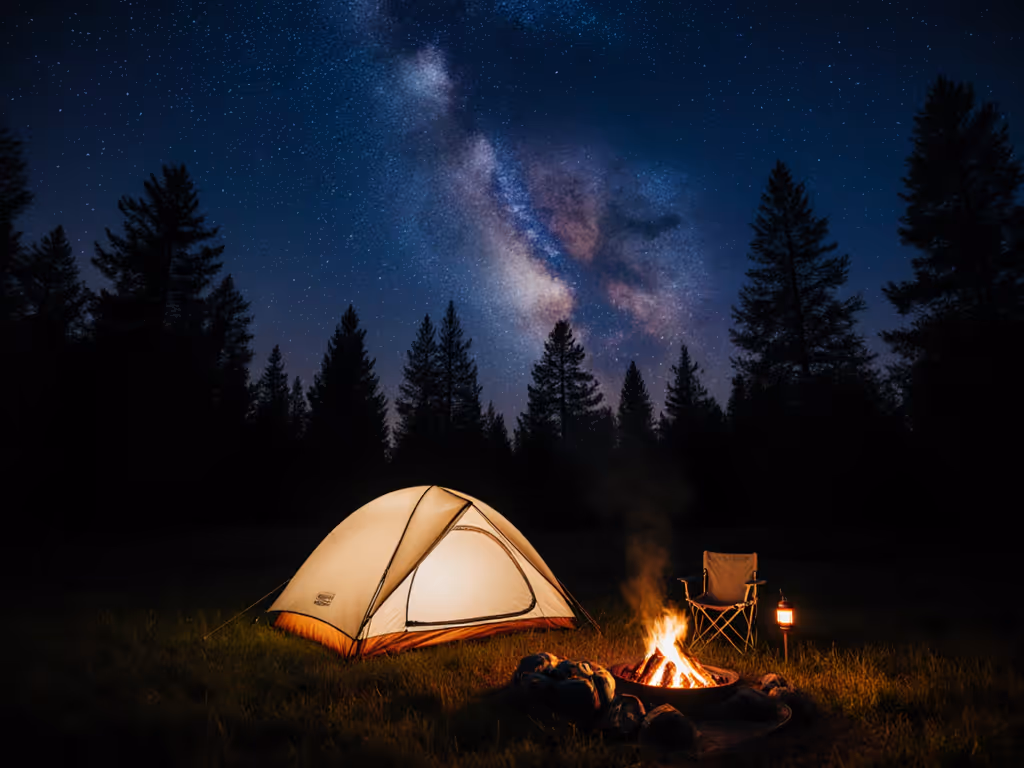
2. Tent Lighting: Preserving Night Vision and Quiet Hours
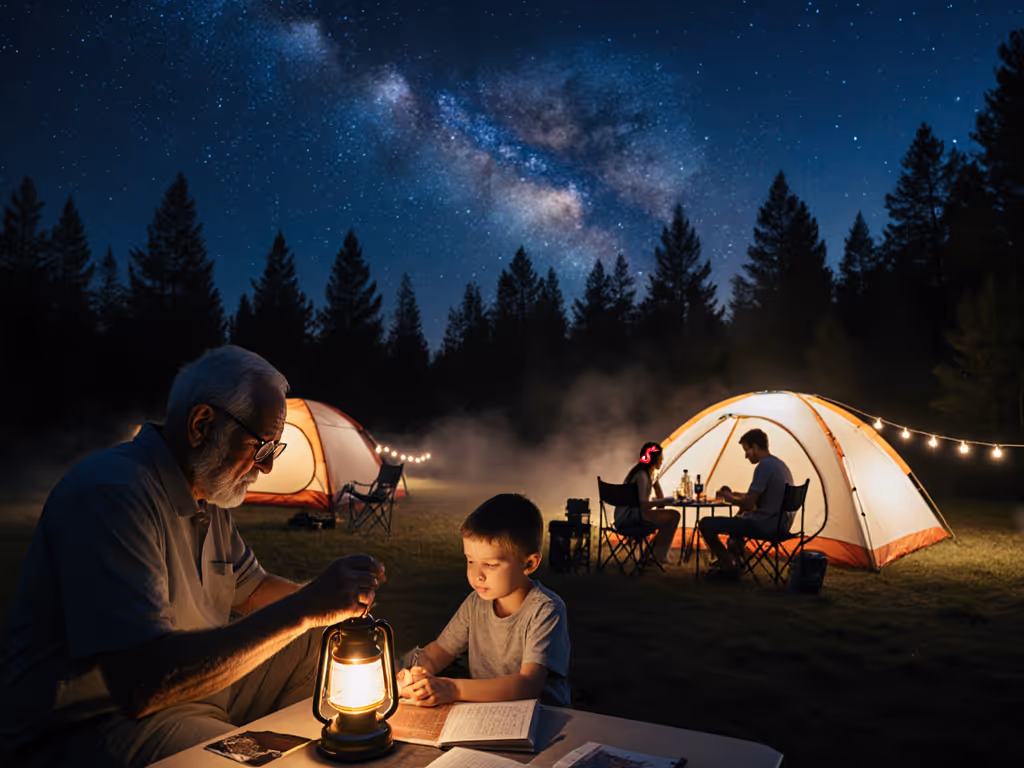
Your tent lighting needs should prioritize conversation and sleep quality over raw brightness. For reading or nighttime routines, 100-200 lumens provides ample illumination without the blue-rich white light that suppresses melatonin production. Opt for adjustable warm-white LEDs (2700K-3000K) that can dim to 30 lumens for nighttime visits to the bathroom.
neighbors sleep first, a simple mantra that guides my tent lighting decisions. Would I want this light shining through my tent wall at 2 a.m.?
Key considerations:
- Use diffusers to soften output (a simple sock over your lantern works in a pinch)
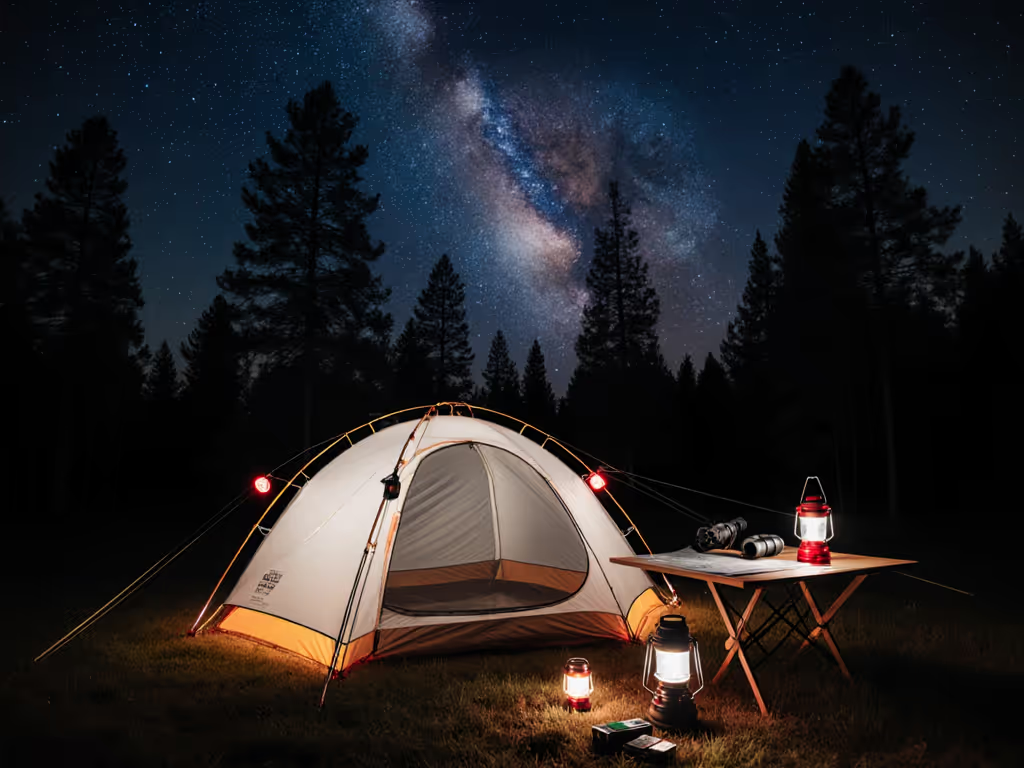
- Choose red or amber modes for late-night navigation (preserves everyone's night vision)
- Prioritize lights with gradual dimming rather than preset modes
- Avoid directional beams inside tents (they create uncomfortable hotspots)
3. Cooking and Task Lighting: Function Without Glare
For meal preparation and campsite tasks, you need focused but not overwhelming light. A 200-400 lumen lantern with good color rendering (CRI above 90) makes food prep safer and more pleasant, helping you distinguish between similar-colored spices or spot a dropped utensil.
The secret most guides miss? Positioning matters more than raw lumens. Mount your light source slightly behind and above your cooking area to cast light downward without creating shadows on your food. This approach lets you use lower brightness levels effectively, saving precious battery life while keeping your campsite footprint small.
4. Campsite and Path Lighting: Creating Safe, Contained Illumination
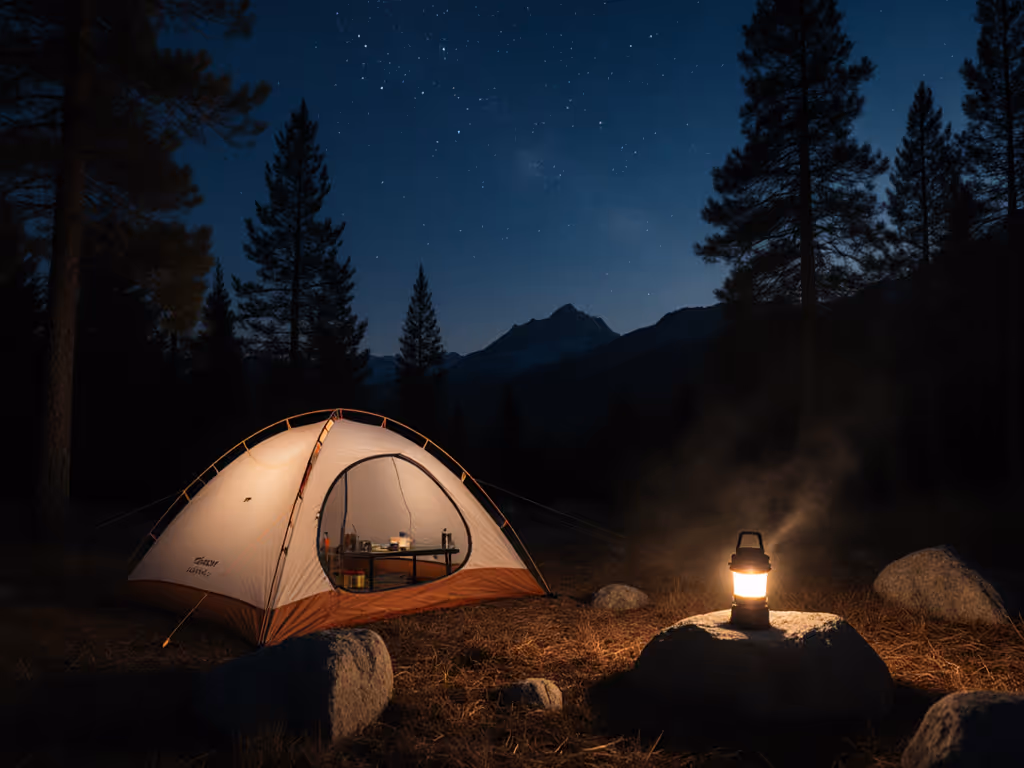
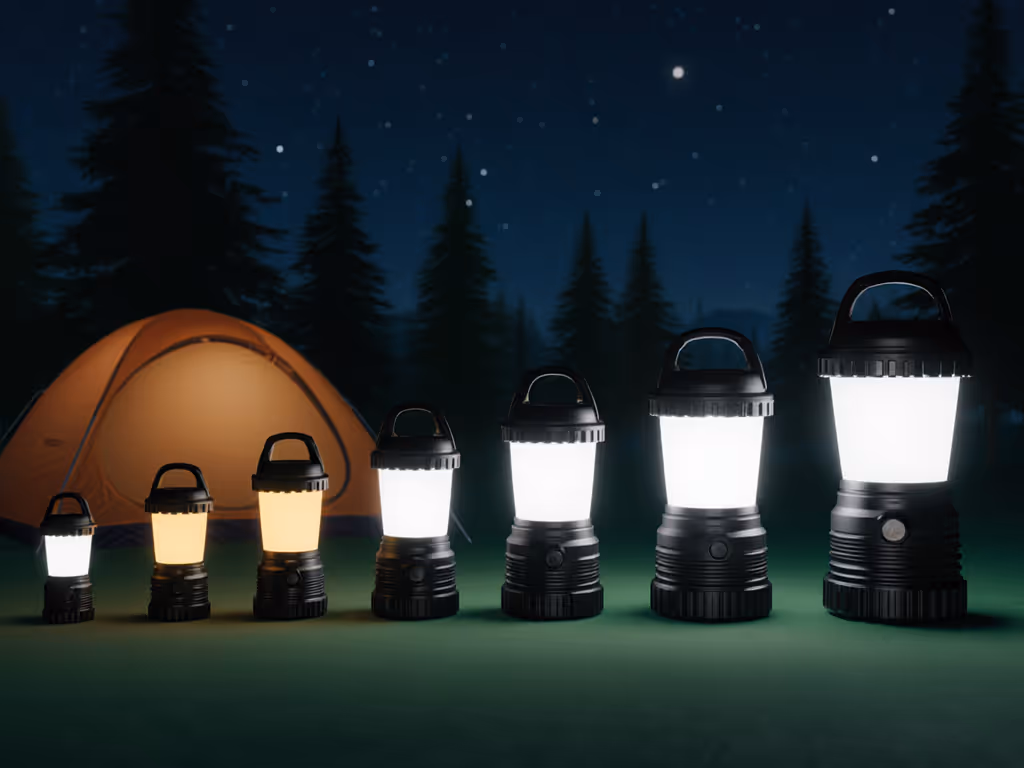
For general campsite lighting, resist the urge for "floodlight" intensity. A single 400-lumen lantern properly positioned creates a more functional and neighbor-friendly environment than multiple high-lumen lights fighting each other. Remember that in natural darkness, our eyes adapt to require less artificial light than we think.
For pathways between tent and cooking areas, low-profile ground lighting (20-50 lumens) works best, preventing tripping hazards without creating light pollution. This is where thoughtful beam pattern design matters more than lumen count; look for lanterns with 180-degree horizontal spread rather than vertical throw.
5. Headlamp Selection: The Often-Overlooked Layer
Your headlamp is your personal lighting solution, but coordination with group lighting prevents the "lasering" effect where multiple headlamps crisscross the campsite. For most trail and campsite use, 200-300 lumens provides adequate illumination without overwhelming battery drain.
Critical features often overlooked:
- True low-light modes (under 50 lumens) for preserving night vision
- Reliable lockout functions to prevent accidental activation in packs
- Red/amber modes that are actually usable (not just token offerings)
- Comfortable weight distribution for extended wear
I've seen too many groups where headlamp etiquette becomes a sore point, and simple pre-trip discussions about appropriate modes can prevent late-night conflicts.
6. Power Planning: Your Hidden Lumen Consideration
The smartest part of any lumen guide rarely gets mentioned: planning your power budget. Each lumen you use consumes precious battery capacity, especially in cold conditions where lithium-ion performance drops 20-30%.
Instead of just asking "how many lumens," ask "how many hours at this brightness level?" A 500-lumen lantern running at 25% brightness (125 lumens) for 8 hours consumes less power than one running at 100% for 2 hours. This understanding transforms your approach to lighting kit assembly.
Your Actionable Next Steps
Tomorrow morning, spend 15 minutes with your current lighting gear:
- Test your lights at actual camping distances: measure how many lumens you truly need at 3 ft (cooking), 6 ft (tent), and 15 ft (campsite)
- Create a lumen budget: calculate total mAh consumption across all lights for your typical trip length
- Implement the neighbors sleep first rule: walk around your campsite at night with each light on its various settings
- Establish your minimum brightness levels: identify the lowest setting that still accomplishes each task
This simple exercise reveals where you're wasting power on unnecessary brightness and where you might need slightly more output. Remember that in camping lighting, restraint creates comfort, both for you and your fellow campers under the stars. When you match your light output to your actual needs, the conversation gets quieter, the stars seem brighter, and the night feels more expansive. That's the true power of thoughtful lighting planning.
Related Articles