Vanlife Lighting Solutions: Warm, Efficient & Reliable
By Tendai Mbatha • 18th Oct
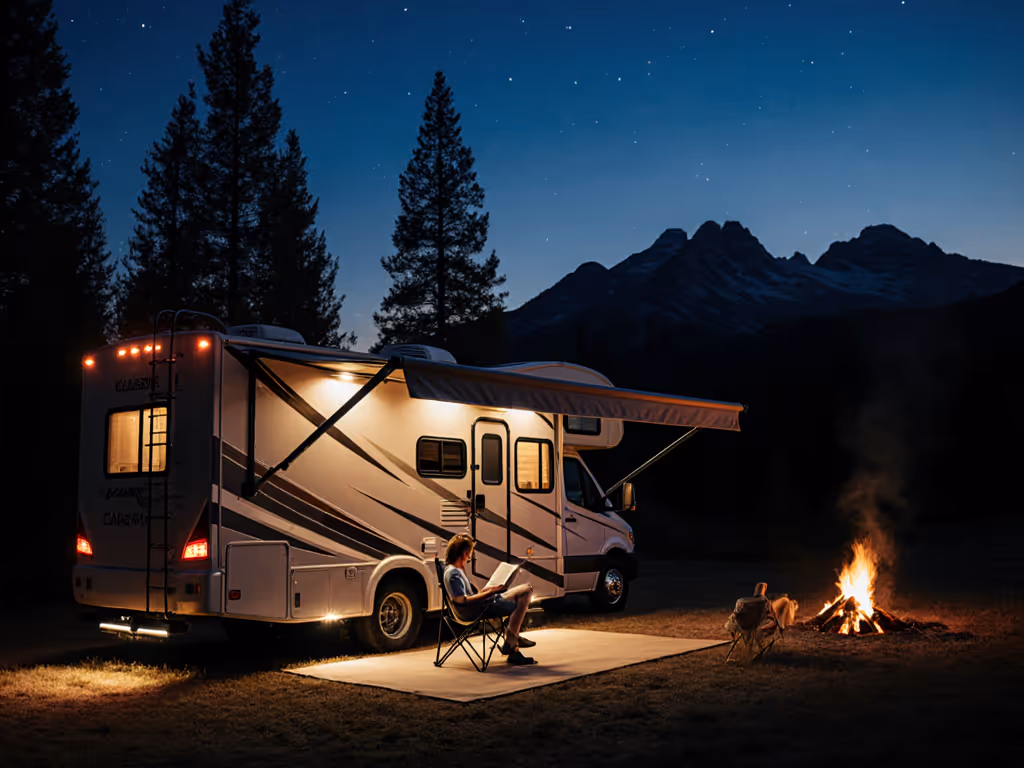
When planning your vanlife lighting solutions, you are not just choosing bulbs and wires. You are designing your nightscape. Done right, thoughtful illumination transforms your mobile home from a dark box into a functional, restful sanctuary that honors both your needs and the dark skies you journey beneath. What you really need is a system that works together as one resilient unit. Too many vanlifers learn the hard way that mismatched lighting leads to anxious battery checks and compromised nights.
Vehicle power lighting isn't just about brightness (it is about strategic light placement that respects night vision and group harmony). Cold weather, battery anxiety, and confusing interfaces plague travelers who focus only on lumens without considering how pieces work together. If you're unsure how bright your van lights should be, use our lumens camping guide to match output to tasks. I've seen groups stranded in near-darkness when their lithium packs faltered in freezing temperatures, while others disrupted camp with harsh white light that ruined everyone's night vision. Resilience comes not from carrying extra lanterns, but from compatibility between every lighting element.
The Efficiency Imperative: Why 12V Systems Win
Powering lights through an inverter might seem convenient, but the physics don't lie. Each conversion step (12V DC to 120/230V AC and back to low-voltage DC) introduces 10-15% energy loss. A recent industry analysis confirmed that AC-powered lighting systems can consume up to 25% more energy than equivalent 12V DC setups for the same light output. When you're running on finite battery capacity, these losses directly translate to shorter nights under reliable illumination.
Consider this comparative breakdown:
| Lighting System | Energy Loss | Runtime Impact | Night Vision Impact |
|---|---|---|---|
| Native 12V DC | 0-5% | Full potential | Minimal disruption |
| AC via Inverter | 15-25% | 20-30% reduction | High disruption (typically cooler CCT) |
| Battery-powered (proprietary) | 5-10% | Varies widely | Moderate (depends on CCT) |
This isn't theoretical, when you're conserving every watt-hour for your next few days, that 25% efficiency gap turns three nights of comfortable lighting into barely two. And remember: a van's electrical system isn't running lights alone. Phone charging, ventilation fans, and small appliances all compete for those precious amp-hours.
Comparative Analysis: Van Lighting Solutions Compared
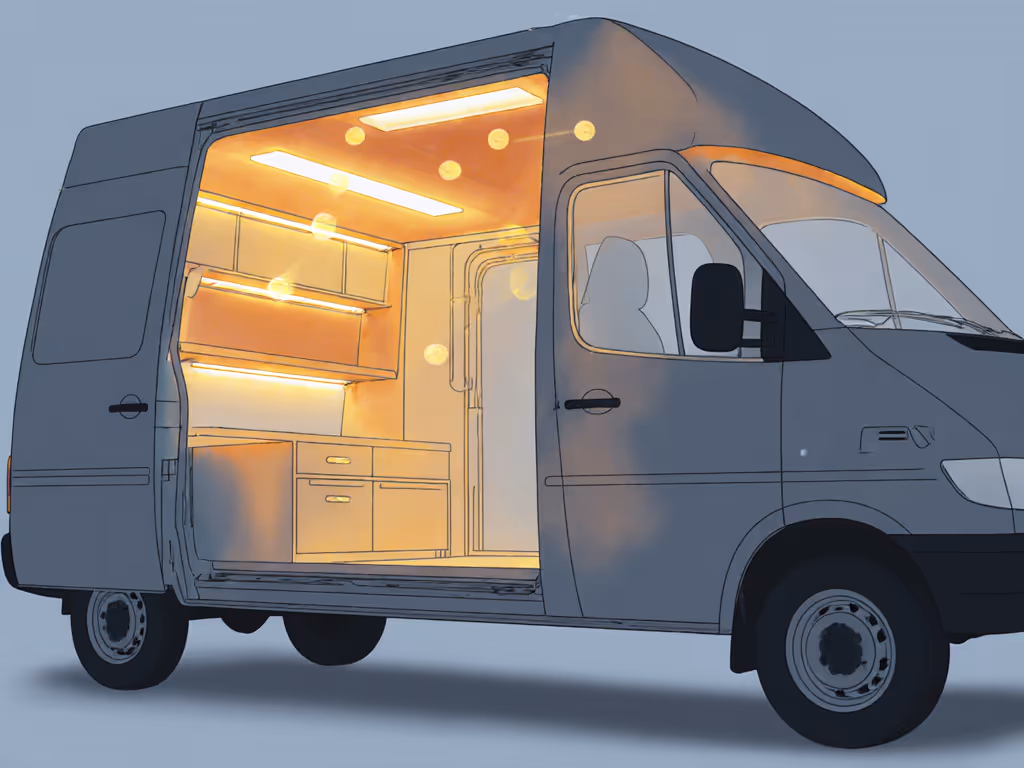
Hardwired 12V Systems
Best for: Permanent installations where you prioritize efficiency and reliability
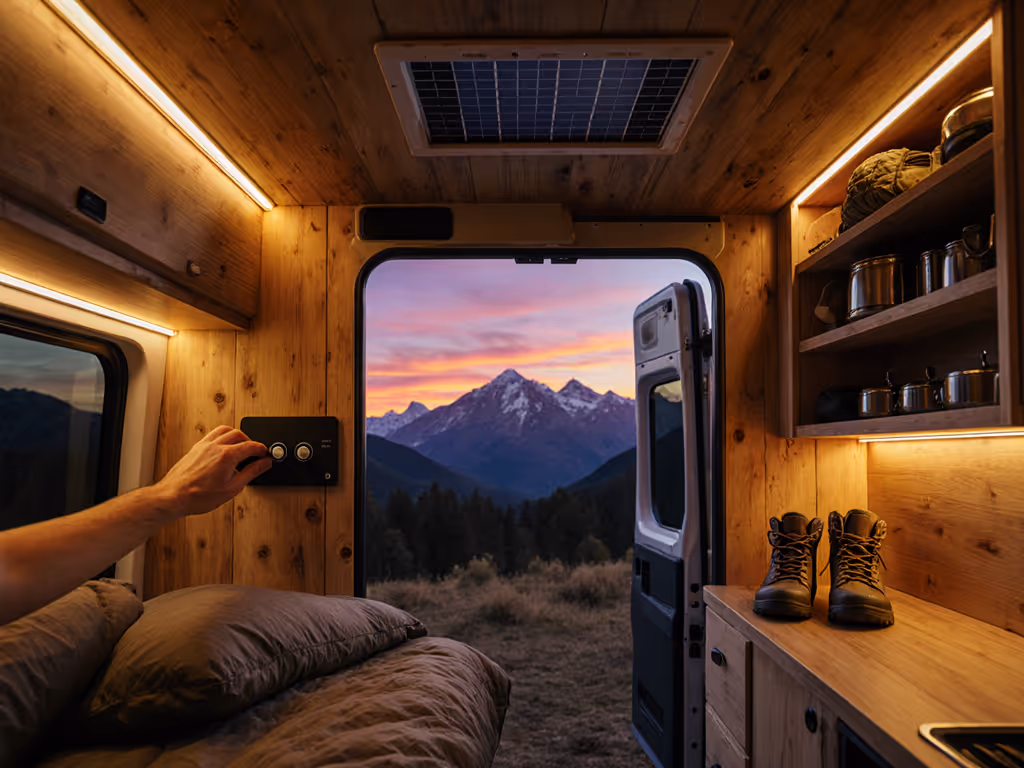
Hardwired systems deliver the cleanest power with minimal conversion losses. Recessed puck lights with warm color temperature (2700K-3000K) provide excellent task lighting without the glare of cooler options. Look for models with dimmable circuits (critical for transitioning from cooking light to bedtime ambiance).
Pros: Maximum efficiency; seamless integration; long-term reliability; minimal cabling clutter
Cons: Requires wiring expertise; permanent installation; less flexible for layout changes
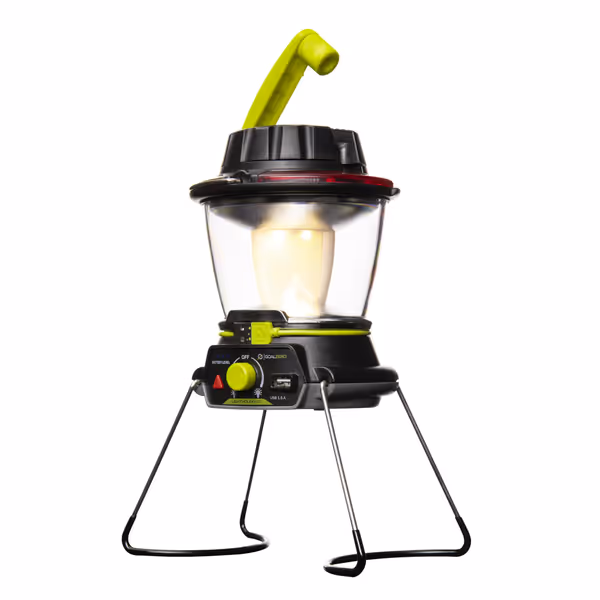
Lighthouse 600 Multi Functional Light
Versatile lantern with integrated power bank and multiple charging options.
$79.95
Battery Capacity5200 mAh
Battery Capacity5200 mAh
Pros
Integrated USB power bank charges devices.
Multiple charging methods: USB, solar, hand crank.
Adjustable, directional light up to 600 lumens.
Compact, foldable design for portability.
Cons
Hand crank charging is slow, for emergencies only.
Customers find this lantern to be a best camping light that lights up a good size area and works well during power outages. They appreciate its compact size and built-in USB charging capability, with one customer noting it can power multiple devices through daisy-chaining. The lantern lasts for three nights on low setting and functions effectively as an emergency light source.
Customers find this lantern to be a best camping light that lights up a good size area and works well during power outages. They appreciate its compact size and built-in USB charging capability, with one customer noting it can power multiple devices through daisy-chaining. The lantern lasts for three nights on low setting and functions effectively as an emergency light source.
Battery-Powered Flexible Options
Best for: Those who value flexibility or temporary setups
Modern battery-powered options have evolved beyond basic AA-holders. Look for systems using standard 18650 or 21700 cells that integrate with your existing gear. For help choosing between rechargeable and disposable cells, see our camping lantern batteries comparison. This approach avoids the e-waste of proprietary batteries and creates compatibility across your entire lighting ecosystem.
Critical consideration: Always verify runtime at actual usable brightness levels. Many manufacturers advertise "maximum" runtime at unusably dim levels while burying the numbers that matter. A light claiming "100 hours" might deliver just 3 hours at a brightness suitable for meal preparation.
Pros: No wiring required; portable between locations; can serve as emergency lighting outside the van
Cons: Battery management overhead; potential for forgotten charging; variable performance in cold weather
The Color Temperature Factor
Your van's interior lighting CCT (Correlated Color Temperature) profoundly impacts both functionality and sleep quality. For a deeper dive into how color temperature affects mood, wildlife, and night vision, read our warm vs cool white guide. Research shows that blue-rich light (above 4000K) disrupts melatonin production 5x more than warm white (2700K-3000K) at equivalent lux levels. This isn't just theoretical, astronomers and night photographers have documented how cool-white light destroys night vision within minutes.
"spare cells, not spare lanterns", this philosophy applies doubly to color temperature. Maintain one warm CCT standard throughout your van rather than mixing cool and warm lights that confuse your circadian rhythm.
Create lighting zones based on function:
- Kitchen/task area: 2700K-3000K at 300-500 lux (adjustable)
- Living area: 2200K-2700K at 100-200 lux
- Sleeping area: <2200K (amber/red) at 10-50 lux
- Entryways: 2700K-3000K with motion sensors
Cold Weather Realities: Plan for the Worst
High on a ridge, frost pinched lithium runtimes and morale. We rebalanced the kit: red map checks, dimmed lantern on a reflector, spare cells warmed in a pocket. Trails stayed readable, the sky stayed ink-black, and nobody tripped. Systems thinking under pressure turns darkness from hazard to habitat.
Cold weather reduces lithium battery capacity by 20-40% at 0°F (-18°C). For sub-freezing trips, plan around voltage sag and capacity loss with our cold-weather battery guide. Design your system with this in mind:
- Never plan for 100% of rated capacity
- Keep spare cells in an interior pocket when temperatures drop
- Choose lights with reliable low modes that maintain functionality as voltage drops
- Install lighting with multiple redundant zones
Your Lighting Implementation Checklist
Execute this pre-trip verification to ensure your system works as one coherent unit:
- Compatibility Check: All lights using standard cells (18650/21700) or USB-C charging
- Runtime Verification: Tested at actual usage brightness (not marketing max)
- Cold Weather Margin: 30% capacity buffer for winter trips
- Color Consistency: All interior lights within 500K CCT range
- Night Vision Preservation: Red/amber modes accessible with one action
- Mounting Security: Secure fasteners that won't loosen during travel
- Spill Control: All lights shielded to prevent glare into sleeping areas
The Final Verdict
Your vanlife lighting solutions should form a single resilient system, not a collection of disparate lights. Focus on compatibility before adding capacity, standardize on warm color temperatures (2200K-3000K), verify actual runtimes at your typical brightness levels, and prioritize cross-compatible power sources.
The most reliable van lighting systems I've field-tested share three characteristics: they use standard cells that work across multiple devices, they offer deep dimming that preserves night vision, and their user interfaces require minimal thought when operating in darkness. Plan for dark, and darkness will plan for you.
When building your kit, remember the core principle: spare cells, not spare lanterns. This approach reduces weight, minimizes e-waste, and creates a resilient system that keeps your van illuminated through unexpected conditions. Your nights spent under the stars deserve better than scattered light sources fighting against each other, create a lighting ecosystem that works as one, and your van becomes a true home among the trees.
Related Articles