Vehicle-Integrated Lighting for RVs: Beyond REI Camping Lights
By Naoko Sato • 10th Jun
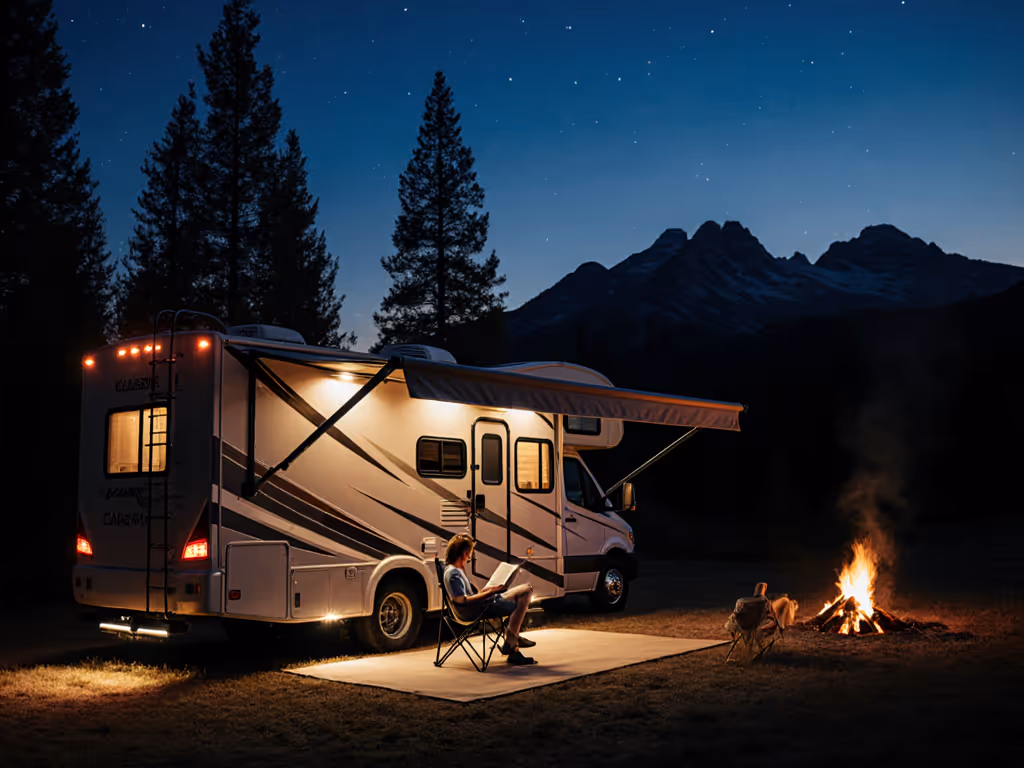
Thoughtful vehicle-integrated lighting can turn an RV or van into a coherent, sleep-friendly night environment in a way that stand-alone REI camping lights and lanterns rarely achieve on their own. Instead of juggling a bin of USB lanterns, headlamps, and LED camping tent lights, an integrated system lets you design beams, color, and controls around how you actually live in and around the vehicle. For layout and wiring ideas tailored to small rigs, see our vanlife lighting solutions.
In this FAQ deep dive, I'll approach lighting the way a systems-minded camper does: as an ergonomic part of your trailer electrical setup, vanlife electrical integration, and broader mobile power solutions, not as a collection of gadgets.
1. What is "vehicle-integrated lighting" and how is it different from portable camping lights?
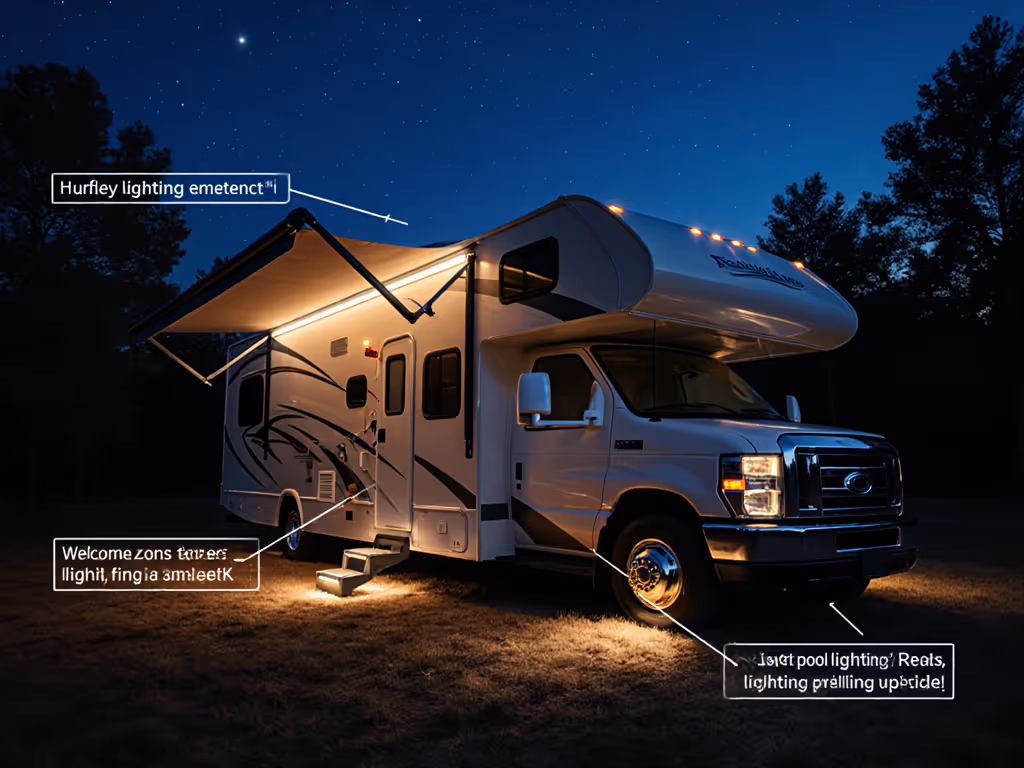
Vehicle-integrated lighting is any lighting that's electrically and physically built into the RV or campervan: ceiling fixtures, under-cabinet strips, awning lights, step and path markers, underbody strips, and dedicated "docking" or cargo lights tied into the 12 V system. These are usually wired directly to the house battery via fuses and switches, much like other 12 V appliances.
By contrast, portable solutions - headlamps, battery lanterns, clip-on LED camping tent lights, and typical REI camping lights - are self-contained devices with their own batteries and controls.
Key differences:
-
Power source
-
Integrated: 12 V DC house system (or occasionally 120 V AC when on shore power) with central fusing and switching.
-
Portable: Internal cells (AA/AAA, 18650/21700, or sealed packs) or small power banks.
-
Control
-
Integrated: Wall switches, dimmers, and zones (kitchen, lounge, bunk, exterior) that are consistent across the space.
-
Portable: Each device has its own UI, which often means different click patterns, brightness steps, and lockouts.
-
Optics and placement
-
Integrated: Fixed, predictable mounting; can be aimed, baffled, and diffused to reduce glare and spill.
-
Portable: Flexible but often ad-hoc (hung from a loop, propped on a crate), which makes glare and neighbor-lighting harder to control.
When designed well, integrated lighting makes camp feel coherent and calm; portable lights can then be reserved for mobility (night walks, bathroom runs, trail use) instead of being the backbone of your living space.
2. Why bother integrating lighting when my lanterns and headlamps work "well enough"?
For many trips, especially with families or larger groups, integrated lighting directly addresses common pain points: battery anxiety, cable chaos, glare, and etiquette.
a. Unified power planning Lighting becomes just another predictable 12 V load in your energy model, alongside your fridge and fans. Because modern LED fixtures are highly efficient, you can often run multiple interior lights for hours on a modest battery without stress. Unlike a scattered collection of lanterns, you are no longer chasing the weakest cell.
b. Consistent, intuitive controls Wall switches and dimmers are discoverable by guests and kids. You can place low, shielded night lights on their own circuits, and keep "big" lights on separate switches, avoiding accidental full-bright blasts at 2 a.m. This directly solves the "too many clicks to red" and "surprise turbo" problem of many portable lights.
c. Better optics, less glare Integrated fixtures can use diffusers, low-profile form factors (including emerging OLED panels), and recessed mounting to create broad, soft illumination instead of harsh hotspots. This is crucial in small spaces where even a 150-lumen bare emitter feels aggressive.
d. Etiquette and dark-sky alignment Exterior vehicle-integrated lighting can be aimed down and shielded, with true low modes that keep light within your site and off the canopy. Docking lights, step markers, and awning strips can all be specified in warm CCTs and modest luminance, dramatically reducing light pollution compared with unshaded, cool-white floodlights. For step-by-step strategies, see our dark-sky-friendly camp lighting guide.
Gentle light makes every voice easier to hear.
That sentence is my design shorthand: if the light lets people talk quietly and see stars, it's probably about the right level.
3. How does 12 V electrical integration for lighting actually work?
Most RV and van lighting runs on 12 V DC, supplied by the house battery bank through a DC fuse panel. The pattern is straightforward but must be executed safely.
Core principles
- Parallel wiring: Multiple lights on a circuit are typically wired in parallel so that each receives 12 V and failure of one does not black out the circuit.
- Dedicated fusing: Each lighting circuit should be fused appropriately at the distribution panel, sized to protect the wire gauge rather than the fixtures.
- Switching: A switched positive lead runs from the fuse panel to the wall switch and then onward to the fixtures, while the negative returns directly to the DC negative bus or fuse block.
- Zoning: Common practice is to create distinct circuits for kitchen/task, lounge, sleeping areas, bathroom, and exterior (awning/step/docking), each with its own switch or dimmer.
Integration with trailer electrical setup and vanlife systems
In a modern trailer electrical setup or vanlife electrical integration, lighting sits alongside solar charge controllers, DC-DC chargers, and inverters:
- LEDs are usually among the lowest-current loads, so you can often overspec the number of fixtures and rely on dimming to manage usage.
- If you use DC-native LED strips or fixtures (no wall wart), they can be wired directly to the 12 V system, bypassing inefficient AC adapters.
- For smart control (scene setting, timers), some builders introduce low-current relay panels or smart switches on the 12 V side, but this adds complexity and potential failure modes.
A conservative, ergonomics-led approach is preferable: clear, labeled switches at logical locations; dimming where it materially improves comfort; minimal dependence on phone apps or brittle automation. If you're considering app-based controls, weigh the trade-offs in our smart camping lights comparison. Keep it simple, and keep it reliable.
4. What color temperature and CRI make the most sense inside an RV?
Inside a small mobile space, lighting is not just about seeing; it is about sleep, comfort, and accurate color for tasks.
Color temperature (CCT)
RV lighting specialists and interior designers commonly recommend warm white (about 2700-3000 K) for living and sleeping areas, reserving cooler whites for task-heavy zones like kitchens and bathrooms. This aligns with circadian-friendly practice and lowers perceived glare compared with 4000-6000 K LEDs at the same illuminance.
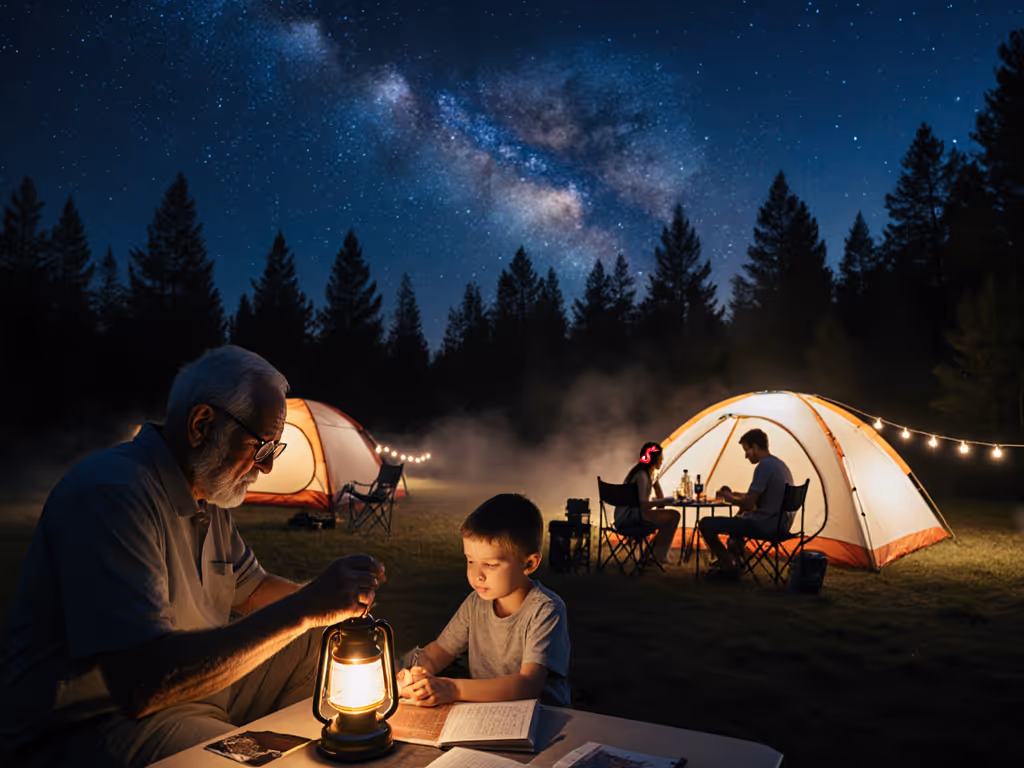
That recommendation echoes an experience many parents know: after swapping a harsh cool dome light for a warm, dimmable source with simple shades and low path markers, bedtime simply holds better and the Milky Way reappears through the windows.
CRI (Color Rendering Index)
High-CRI (90+) lighting makes food prep, gear sorting, and first aid more reliable and pleasant. Poor-CRI light distorts reds and subtle color differences, which matters when you're checking a rash, cooking, or reading map symbols.
Dimming and layering
- Combine indirect or diffused ceiling lights for general ambience with focused task lights (over counters, reading nooks).
- Ensure at least one path - bed to bathroom, bunk to door - has a very low, non-intrusive night level, ideally with its own switch.
When evaluating fixtures, prioritize:
- Stated CCT around 2700-3000 K for evenings.
- CRI ≥ 90 where you cook, work, or handle first aid.
- True low modes with smooth dimming, not just "bright/very bright."
In an RV, light is hospitality: the way it strikes faces and surfaces can either invite people to linger or push them outside.
5. How can I design exterior lighting that’s both safe and dark-sky friendly?
Exterior lighting on RVs and trailers spans several functional categories: driving lights, marker and brake lights, docking and utility lights, awning lights, underbody or step lights, and path markers. Each carries different constraints.
For driving and legally required automotive lighting (headlamps, turn signals, brake and marker lights), regulations govern color, intensity, and placement; these systems must not be altered in ways that conflict with road-vehicle standards.
For camped use, you have much more design freedom.
Good practices for exterior, camp-only lighting:
- Aim down, not out: Use fixtures with built-in shielding or add simple baffles so beams terminate on your steps and ground, not in neighboring tents or tree canopies.
- Warm, modest levels: Choose warm white (≤ 3000 K) or amber for awning and step lights, and design around low to medium brightness; many RV-focused guides specifically warn against overly bright awning strips that spill into adjacent sites.
- Low mounting: Underbody strips or low bollard-style markers near steps create sufficient visibility without broadcasting across the campground.
- Separate switches: Keep "work" lights (high-output docking or cargo lights) on a separate, clearly labeled switch so they are never turned on accidentally during quiet hours.
Patent literature on supplemental RV exterior lighting emphasizes locating fixtures where they enhance loading, leveling, and hookup tasks without creating glare for other drivers or campers - an ethos that aligns neatly with dark-sky principles.
6. How do vehicle-integrated lights fit into my overall mobile power solutions?
From an energy-budget perspective, integrated LED lighting is usually a small but non-trivial part of your load profile.
Typical characteristics:
- Modern 12 V LED puck or strip fixtures often draw on the order of 1-4 W each at useful brightness, much less than legacy halogens.
- An evening scene with 4-6 interior fixtures at medium level might consume 15-30 W total, or roughly 1.25-2.5 Ah per hour from a 12 V battery bank. Over four hours, that's 5-10 Ah, easy to accommodate in most solar-based systems.
Because lighting is predictable (you know when you'll be awake and indoors), you can:
- Fold it into spreadsheet-based power planning alongside fridge, fans, and device charging.
- Decide how much you truly need portable lanterns and headlamps for redundancy, rather than as primary illumination.
This consolidation reduces cable and battery chaos while still leaving room for specialized portable lights (for hiking, astrophotography, or emergency redundancy). A calmer kit is a more usable kit.
7. How should I phase a transition from "bin of lights" to a coherent integrated system?
A calm, well-integrated RV lighting plan does not require a single sweeping refit. A phased, evidence-led approach is both safer and more satisfying.
Step 1 – Audit and map
- Sketch your interior and exterior and note how you actually move after dark: cooking, reading, kid bedtime, bathroom runs, hookups, and stargazing.
- List current fixtures and portable lights, rating each for CCT, CRI, glare, mounting, and UI.
Step 2 – Fix the worst first
- Replace the few most objectionable fixtures - often harsh cool-white dome lights over beds or seating - with warm, dimmable, higher-CRI units.
- Add or retrofit shades and diffusers rather than simply increasing lumen output.
Step 3 – Establish zones and night paths
- Put key areas (kitchen, lounge, bunks, bathroom, exterior step) on distinct switches with sensible locations.
- Create at least one low, shielded night path that can remain on without waking others. For choosing between ground-level markers and overhead string lights, see our pathway vs string lighting guide.
Step 4 – Re-balance your portable kit
Once integrated lighting reliably covers camp life, you can:
- Reduce the number of high-output lanterns, focus on a few high-CRI headlamps and compact task lights for off-vehicle use.
- Standardize on shared charging (USB-C) and cell formats for the remaining portables, simplifying your battery plan.
Step 5 – Test and iterate
On the next few trips, pay attention to:
- Whether anyone reaches for a headlamp inside the RV (a sign that a zone is underlit).
- Whether neighbors' sites remain dark and undisturbed when your lights are on.
- How well everyone sleeps and how quickly eyes adapt when stepping outside.
If those metrics trend in the right direction, your design is working. If not, adjust CCT, dimming ranges, or shielding. Gentle changes can make dramatic differences; gentle light makes every voice easier to hear.
8. Where can I go next to refine my RV lighting plan?
For further exploration:
- Dive into RV and campervan lighting guides and manufacturer spec sheets that publish real power consumption, CCT, and CRI; these sources offer concrete baselines for your calculations.
- Study automotive and RV exterior-lighting standards to understand what must remain road-legal versus what you can optimize purely for camp comfort.
- Explore emerging diffuse, low-glare technologies - such as OLED panels and advanced diffusers - to see how they might soften key zones in your rig.
Treat your vehicle the way you would a carefully lit small apartment: with intention, restraint, and respect for neighbors and night. In mobile spaces as much as in buildings, light is hospitality.
Related Articles