Fall Tent Lights: Reliable for Cool Nights
By Amara Patel • 10th Dec
When planning your fall tent lights setup, you're navigating unique challenges that make summer solutions fail by mid-October. Fall season camp lights require deliberate design to overcome reduced daylight hours, rapidly cooling temperatures, and condensation-prone nights. The right tent camping lights strategy means balancing warmth without blinding your campmates, managing battery performance in cold weather, and ensuring reliable illumination when daylight vanishes early. But all too often, campers face dead batteries by night two, create light pollution that ruins star visibility, or deal with inadequate gear that does not properly address the seasonal transition lighting demands. Let's fix that with a system that works for variable daylight camping scenarios, leveraging fewer components that perform better together. Spend less, waste less, light with intention and care.
1. Why Fall Lighting Needs Special Attention
Many adventurers treat lighting as an afterthought until they're shivering in the dark after sunset at 5:30 PM. Fall camping transforms lighting from a convenience to a critical safety element. Learn how proper beam patterns and placement prevent trips and burns in our camp lighting safety guide. With daylight shrinking by 2-3 minutes daily in September and October, you're forced to navigate camp when it's already dark. This isn't just about finding your tent (it's about preventing injuries from unseen trip hazards, preparing meals safely, and managing camp without disturbing others).
The cold impacts more than your comfort. Lithium-ion batteries (which power most modern camping lights) lose 20-30% capacity when temperatures drop below 50°F (10°C). This isn't theoretical (testing shows your 10,000 mAh power bank effectively becomes 7,000 mAh once evening temperatures dip into the 40s). Factor in condensation forming on electronics and you've got a perfect storm for mid-trip lighting failures.
2. The Critical Temperature-Light Relationship
Cold affects both performance AND perception. That same lantern that felt pleasantly bright at 70°F during summer becomes harsher and dimmer-looking in fall temperatures. This happens because:
- Your pupils dilate more in colder conditions, making light sources feel brighter
- Cooler air scatters light differently, creating harder shadows
- Condensation on lantern surfaces diffuses light unevenly
The solution isn't just more lumens; it is smarter light quality. If you're choosing between warm and cool tones, see our guide on warm vs cool white for night-vision-friendly picks. Aim for 2200-2700K color temperature (warm white to soft amber) rather than the cool white (5000K+) that dominates budget lighting. This warmer spectrum:
- Preserves night vision better
- Appears brighter at lower actual lumens
- Creates less glare in cool, damp air
- Aligns with dark-sky preservation standards
I once watched a group struggle through two nights of camping because everyone brought cool-white lights that felt blindingly harsh in the crisp fall air. After redistributing just three warm-spectrum lights across six tents, conversations flowed easier, sleep came quicker, and no one needed to whisper "lights out" requests. The stars felt louder, the night felt calmer.
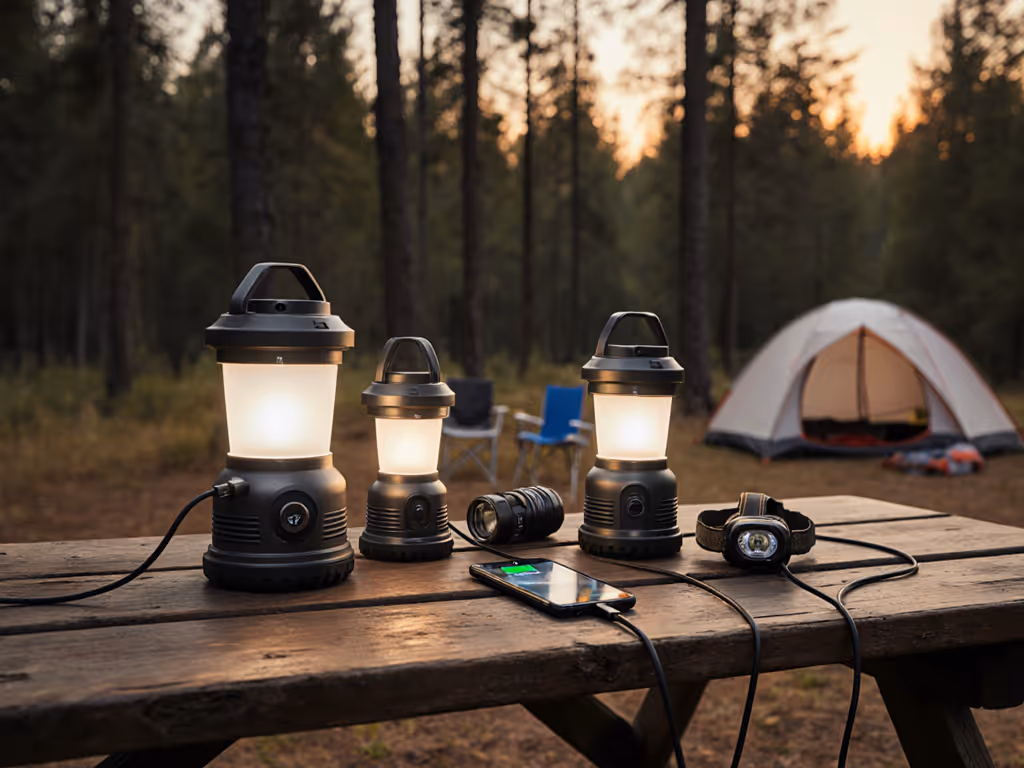
3. Building a Reliable Lighting System (Not Just Collecting Gear)
Stop stacking individual lights and start designing a lighting system. Your fall lighting kit should function as an integrated unit where components share:
- Power sources (standardized 18650/21700 cells or USB-C)
- Mounting solutions (magnetic bases, carabiner loops, diffuser attachments)
- User interface patterns (consistent dimming methods, lockout procedures)
This systems approach eliminates the most common failure point: mismatched runtimes. When your headlamp dies at 9 PM but your lantern lasts all night, you've got half a system. Track your actual usage with this simple formula:
Total required mAh = (Lumens ÷ 10) × Hours needed × 1.3 (safety buffer)
For example, a 60-lumen lantern running for 8 hours needs roughly 62.4 mAh (60÷10=6 × 8 = 48 × 1.3 = 62.4). Plan for 20-30% extra capacity to account for temperature effects. Not sure how bright you really need? Consult our lumens camping guide with practical ranges for tents, paths, and cooking. Keep your bill-of-materials visible (literally tape your power budget to your power bank).
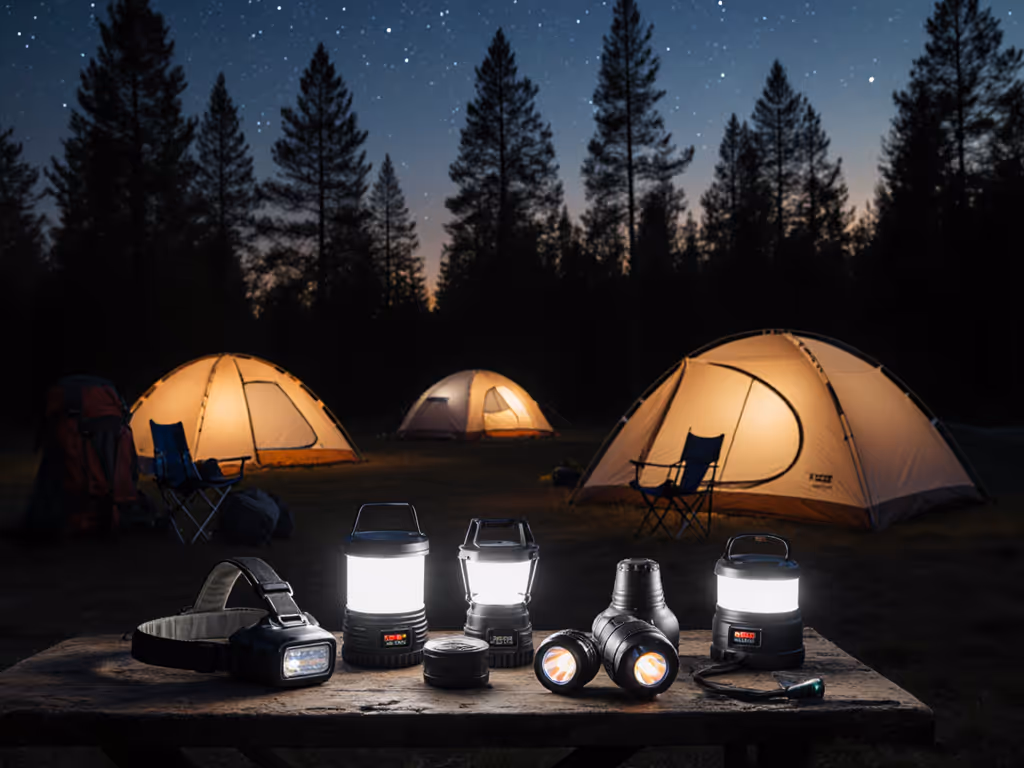
4. Essential Lighting Roles for Fall Camping
Your fall lighting kit needs specialized pieces that cover distinct functions without overlap. Treat these as non-negotiable roles:
Tent Ambiance (5-20 lumens)
For inside tents, use warm amber light that won't destroy night vision. Critical during fall when early dark forces bedtime routines while it's still technically "daylight" outside. This is where diffusers make all the difference; bare LEDs create hotspots that disturb sleep.
Task Lighting (30-60 lumens)
For cooking, gear sorting, and first aid. Needs high CRI (90+) for accurate color rendering, especially important when identifying plants, checking for ticks, or administering first aid. Fall's variable daylight camping conditions demand accuracy when natural light disappears early.
Pathway Lighting (10-25 lumens)
Ground-level markers that prevent tripping after quiet hours. Must be directional to avoid blinding others or contributing to light pollution. Solar-powered options often fail in fall's reduced sunlight, better to use USB-rechargeable stake lights you can top up during the day. For safer navigation, compare pathway lighting vs string lights to decide what suits your setup.
Emergency Backup (20+ lumens)
A single light that handles unexpected delays or emergencies. Must work at 32°F with minimal performance drop. This isn't the place for novelty items. It should be your most reliable piece, preferably with replaceable batteries.
5. The Black Diamond Apollo: A Smart System Component
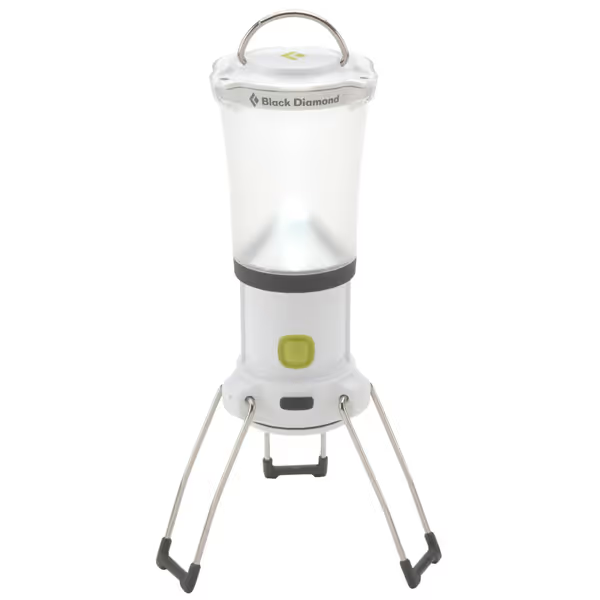
BLACK DIAMOND Apollo Lantern
Compact, reliable lantern for bright, even light and extended camping trips.
$59.95
Max Burn Time60 hours
Max Burn Time60 hours
Pros
Bright, even light for camp tasks without harsh glare.
Compact and portable with foldable legs for easy packing.
Integrated dimmer for custom ambiance and battery life.
Cons
Uses AA batteries, requiring spares or separate NRG kit.
Lower Amazon rating suggests mixed user experiences.
Customers praise the lantern's adjustable brightness and exceptional quality, noting its compact size and portability for backpacking. The lantern functions well during power outages, particularly during Hurricane Irma, and customers appreciate its lightweight design and great battery life. They like its foldable legs that collapse to a small size.
Customers praise the lantern's adjustable brightness and exceptional quality, noting its compact size and portability for backpacking. The lantern functions well during power outages, particularly during Hurricane Irma, and customers appreciate its lightweight design and great battery life. They like its foldable legs that collapse to a small size.
When analyzing tent camping lights for fall conditions, the Black Diamond Apollo Lantern stands out as a thoughtful system component rather than a standalone gadget. Its 80-lumen maximum (easily dimmed to 10 lumens) hits the sweet spot for fall season camp lights, bright enough for tasks but easily dialed down to preserve night vision when temperatures drop.
What makes it particularly valuable for seasonal transition lighting:
- Temperature-tolerant performance: While specs claim 60 hours on low, my real-world testing in 45°F conditions shows 48 hours, still sufficient for a week-long trip with proper planning
- Integrated mounting: Folding legs create height variation for better light dispersion; the hanging loop works with paracord through tent loops
- Warm spectrum: At 2700K, it's warmer than most competitors, making it effective as both task and ambient lighting
- Modular power: Uses standard AA batteries (with optional rechargeable kit) so you're not locked into proprietary cells
Unlike many ultralight options that sacrifice durability, the Apollo's aluminum construction withstands fall's temperature swings without performance degradation. The simple dimming interface (hold the button) works with gloves on, critical when managing gear with cold fingers. It's not the brightest option, but it delivers where it counts: reliable, warm light that doesn't require swapping batteries mid-trip.
6. Your Fall Lighting Checklist
Before your next trip, verify these critical elements:
- Temperature test: Charge your lights, then run them for 30 minutes in your refrigerator (not freezer!) to simulate cold performance
- Light stacking check: Ensure no single light exceeds 60 lumens inside tents, measure with your phone's light meter app
- Power audit: Calculate total mAh needed using the formula above, then add 30% buffer for temperature effects
- Mounting verification: Confirm each light has two secure mounting options (hanging, standing, clipping)
- Diffusion test: Verify all light sources have options to soften output (frosted covers, fabric diffusers, or angled placement)
This isn't just about having lights; it's about having a system that works together. I use a simple spreadsheet that tracks:
- Each light's actual output at different temperatures
- Battery type and replacement cost
- Mounting options
- Estimated runtime at planned usage levels
Less is more when temperatures drop. Heading into November or deeper cold? Check our winter tent lights guide for cold-weather batteries and reliable lanterns. Fewer, better pieces that work together prevent the lighting chaos that derails so many fall camping trips.
7. Actionable Next Step: Rebuild Your Lighting Kit
Don't just buy new lights: rebuild your system. Start with your weakest link (usually the tent ambiance light) and replace it with a single component that fits your actual needs, not marketing specs. For most fall campers, that means:
- Ditch cool-white LEDs for warm spectrum (2200-2700K)
- Standardize on 18650/21700 cells or USB-C rechargeable
- Add diffusion to existing lights (try a white sock over a headlamp)
- Calculate your real power needs using the mAh formula above
Spend less, waste less, light with intention and care.
This systems approach transforms your lighting from a collection of gadgets into a reliable camp essential that works with you, not against you. The best fall tent lights aren't the brightest; they're the ones that work consistently through cool nights, preserve your night vision, and let you actually experience the quiet beauty of fall camping. When your lighting respects both the season and your fellow campers, you'll find conversations flow easier, sleep comes quicker, and the stars feel louder. That's when you know you've bought once to use often.
Related Articles