Underground Navigation Lights: Top 5 for Cave Camping
By Naoko Sato • 3rd Mar

When you venture underground (whether into a mapped cave system or a deep slot canyon), light becomes your most essential tool. Yet many campers reach for whatever headlamp or lantern fits in their pack, only to discover mid-trip that beam quality, runtime, or mounting options do not suit subterranean conditions. Underground navigation lights demand different thinking than topside camping gear. They must handle moisture, provide reliable redundancy, preserve night vision, and work intuitively in total darkness. This guide explores the core questions cave campers and spelunking enthusiasts ask, grounded in how light actually behaves below ground.
Why Does Light Behave Differently Underground?
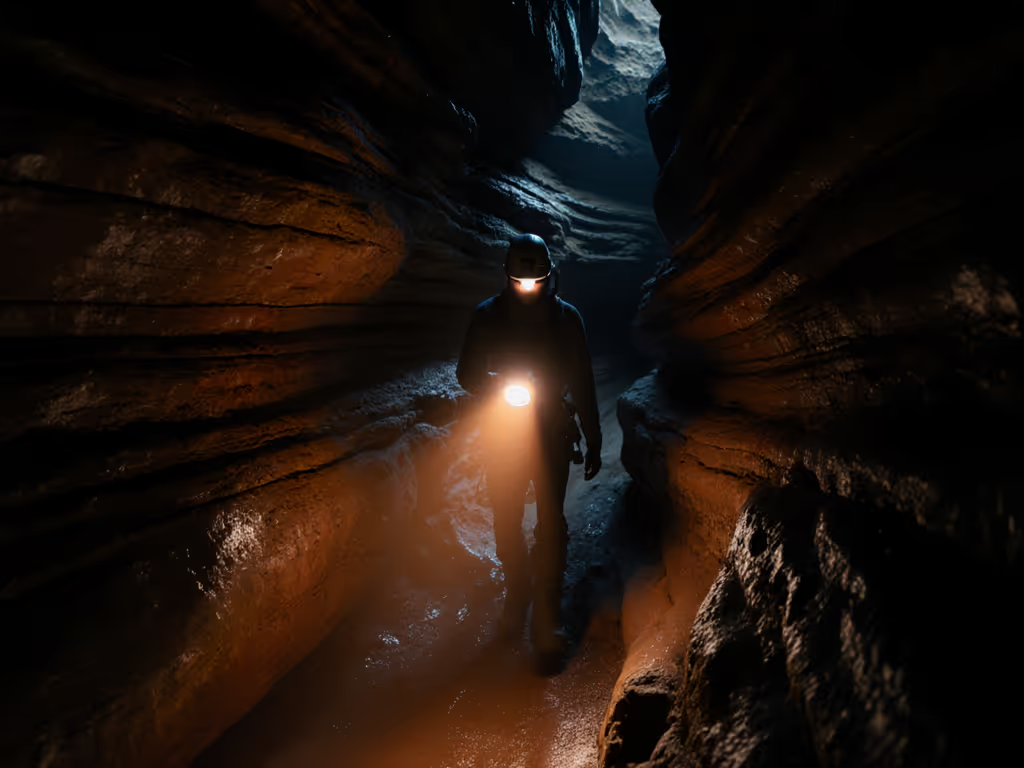
Aboveground, ambient skylight and star-glow help your eyes adapt. Underground, you have none. Light is hospitality in enclosed spaces, it should be responsive and purposeful. In caves, reflective surfaces (limestone, mud, flowstone) bounce and scatter beam patterns unpredictably. Cool-white light (5000K and above) scatters more, creating backscatter haze and glare that reduces contrast, making geological hazards harder to spot. Warm light (2700-3000K) cuts through that haze.
Moisture is also relentless. Cave systems maintain 95-100% humidity; condensation forms on lenses, corroding unshielded circuits. This is why proper sealing (gaskets, o-rings, and drain designs) matters far more in caves than on a camping trip. Runtime expectations also shift. A 300-lumen headlamp rated for 12 hours at medium in a lab does not behave the same in a damp 50°F cavern, where battery chemistry slows and spill-light waste increases in tight passages.
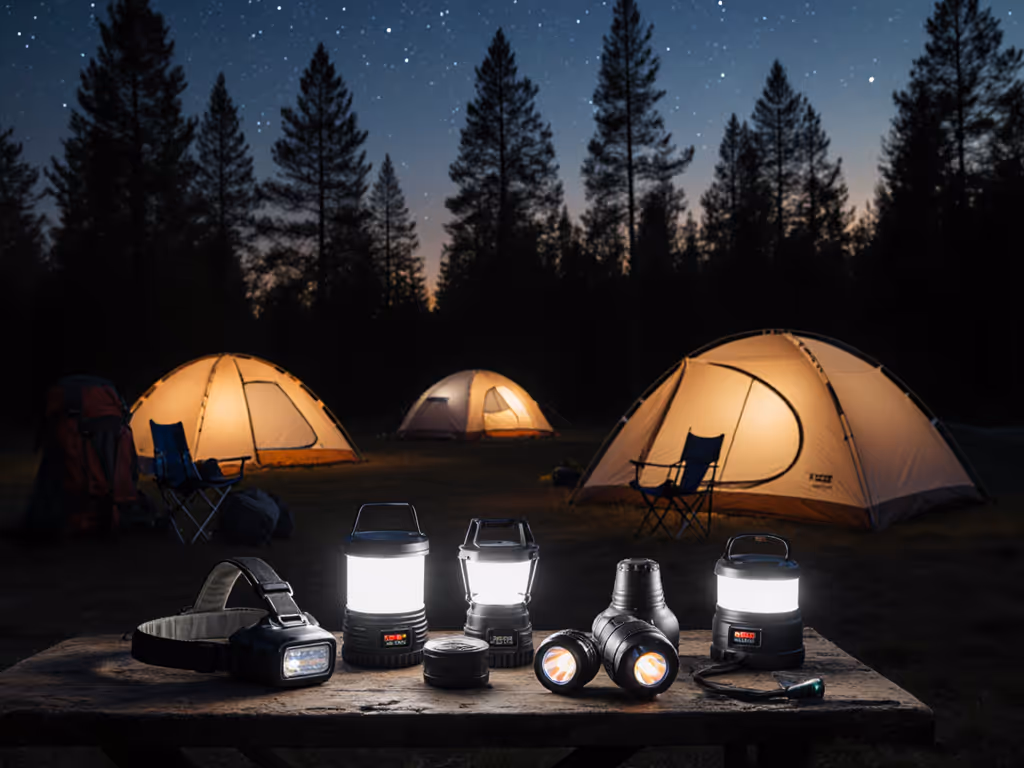
What's the Difference Between a Headlamp and a Lantern for Cave Work?
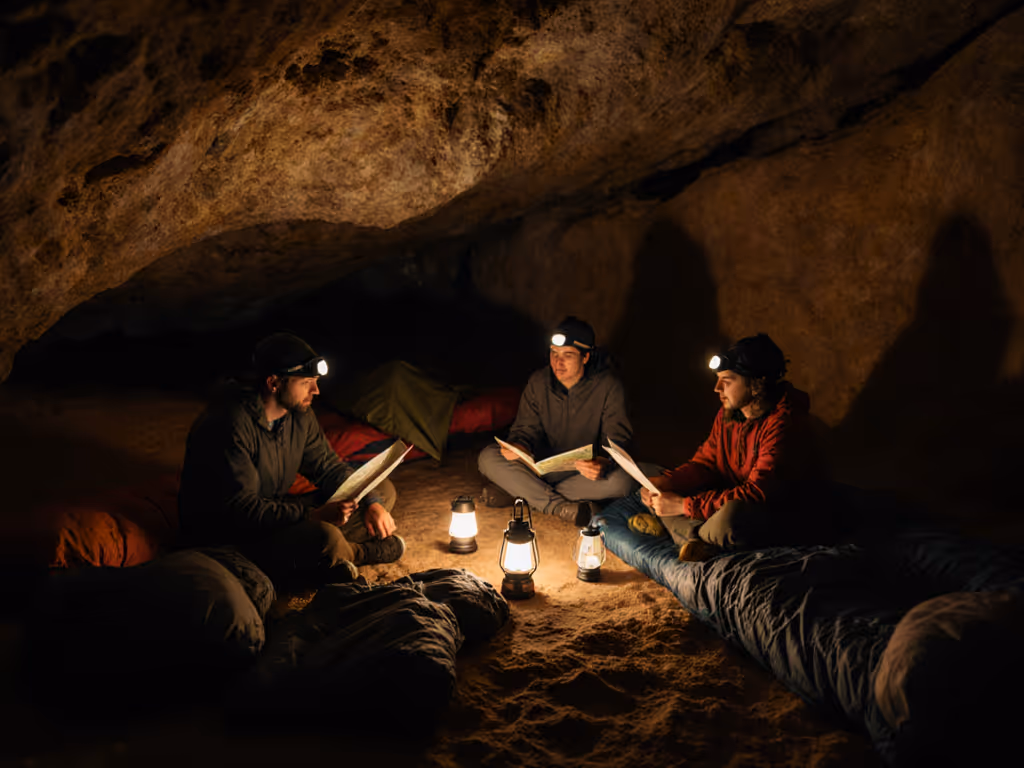
Headlamps free your hands and move light with your gaze, essential for scrambling, climbing, or surveying. Lanterns (whether hanging or placed) create static area light, useful for base camps inside a cave, documenting formations, or working on gear without moving the beam every second. Many experienced cavers use both: a headlamp as primary and one or more backup headlamps, plus a lantern or handheld for specific tasks.
The Armytek Wizard C2, featured in caving reviews, exemplifies this hybrid approach. It mounts on a headband but detaches instantly, letting you use it as a handheld or place it to illuminate a workspace. The dual o-ring gasket design handles cave moisture better than single-seal lights. Its warm-setting option is particularly valuable, and many cavers report that warm beams make navigating breakdown piles and narrow crawls easier because contrast improves.
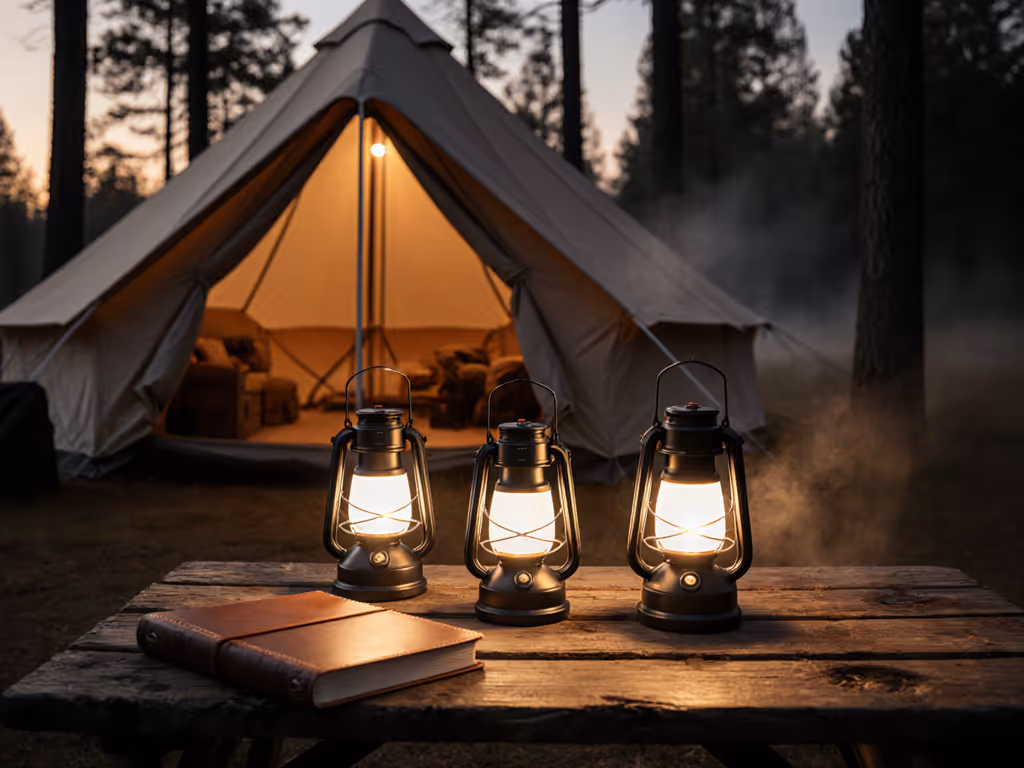
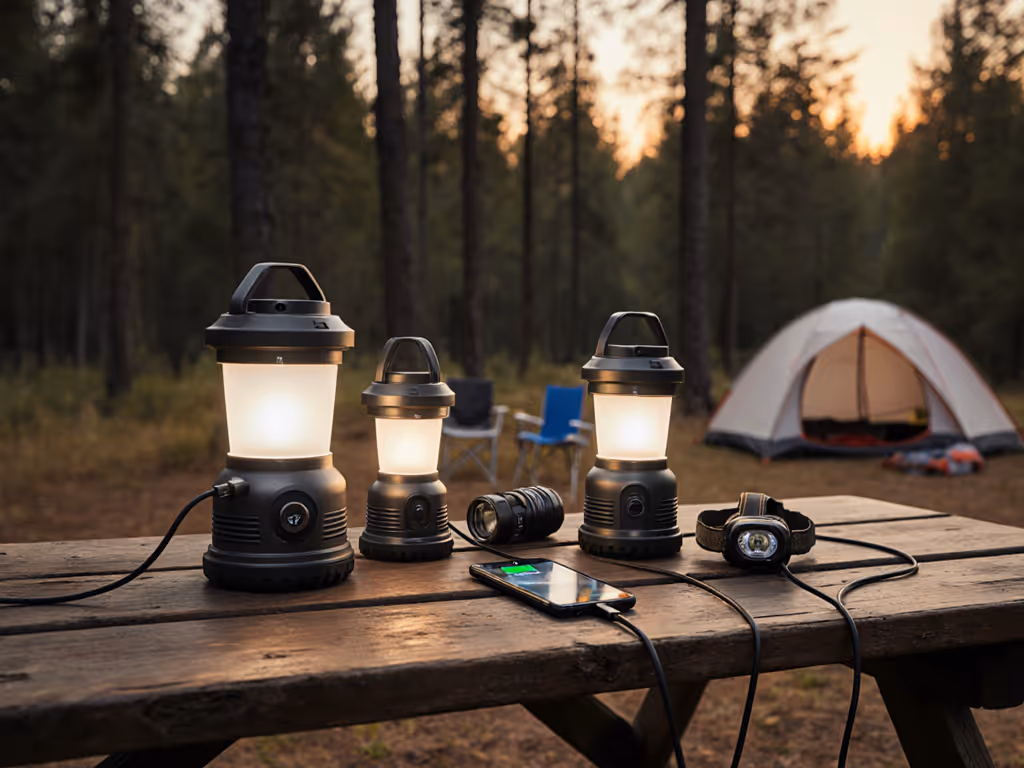
For lantern-style options, compact USB-rechargeable models like the BougeRV Camp Light offer low-to-high stepped brightness and take up minimal pack space. These work well as secondary lights or for in-cave base camps where you want 360° ambient light without a headlamp's eye strain.
How Do I Choose the Right Color Temperature and Brightness for Caves?
This is where personal preference meets physics. Color Temperature (CCT) describes how "warm" (orange-yellow, 2700-3000K) or "cool" (blue-white, 5000K+) light appears. Color Rendering Index (CRI) measures how accurately colors show under that light, and high CRI (90+) reveals true rock color, helping spotters identify hazards and formation types. For a deeper dive into color accuracy outdoors, see our guide to camping light CRI.
For cave work, warm light (2700-3000K, CRI 80+) is the evidence-backed choice. It reduces backscatter in humid air, eases eye fatigue during long passages, and preserves peripheral night vision better than cool light. If you are navigating, a mid-range warmth at 3000-3500K with stepped brightness (low, medium, high modes) gives you flexibility: low for base-camp socializing, medium for steady progress on rock, high for obstacle assessment. Resist the urge for ultra-high lumens. 200-400 lumens at medium typically suffices for caving; going higher wastes battery and increases glare.
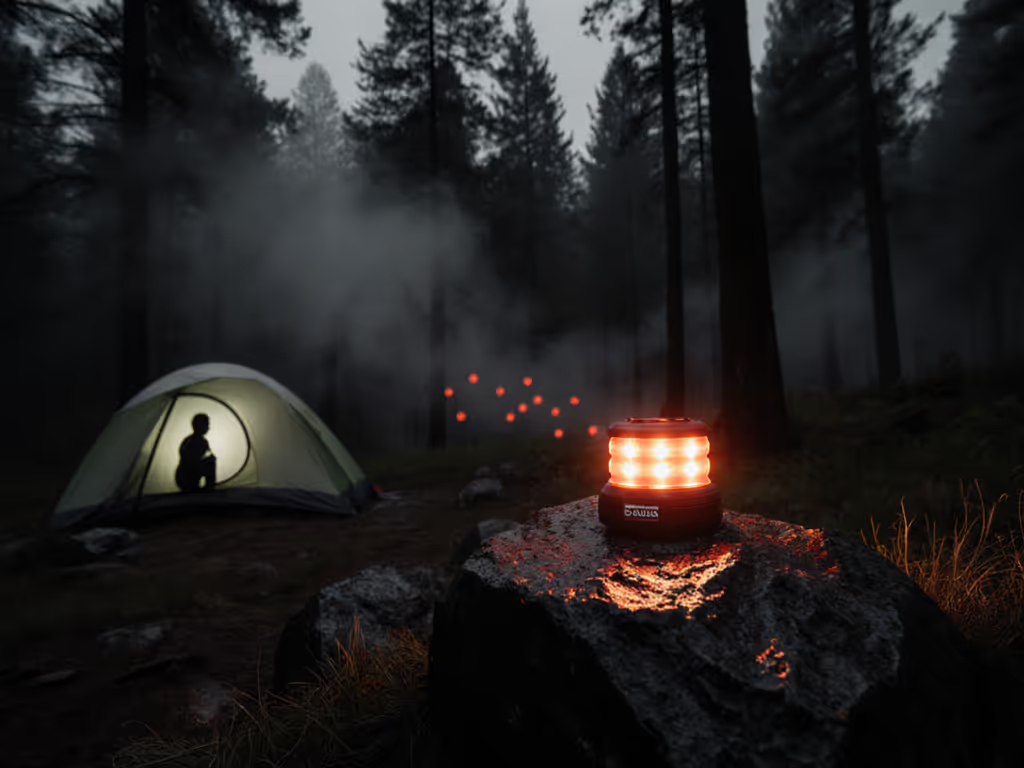
One practical detail: many cavers keep red or deep-amber clip filters. If you are doing nighttime cave entry or underground photography, a red filter on your backup light preserves everyone's dark-adapted vision without needing a second headlamp.
What Runtime Should I Plan For, and How Do I Account for Cold and Moisture?
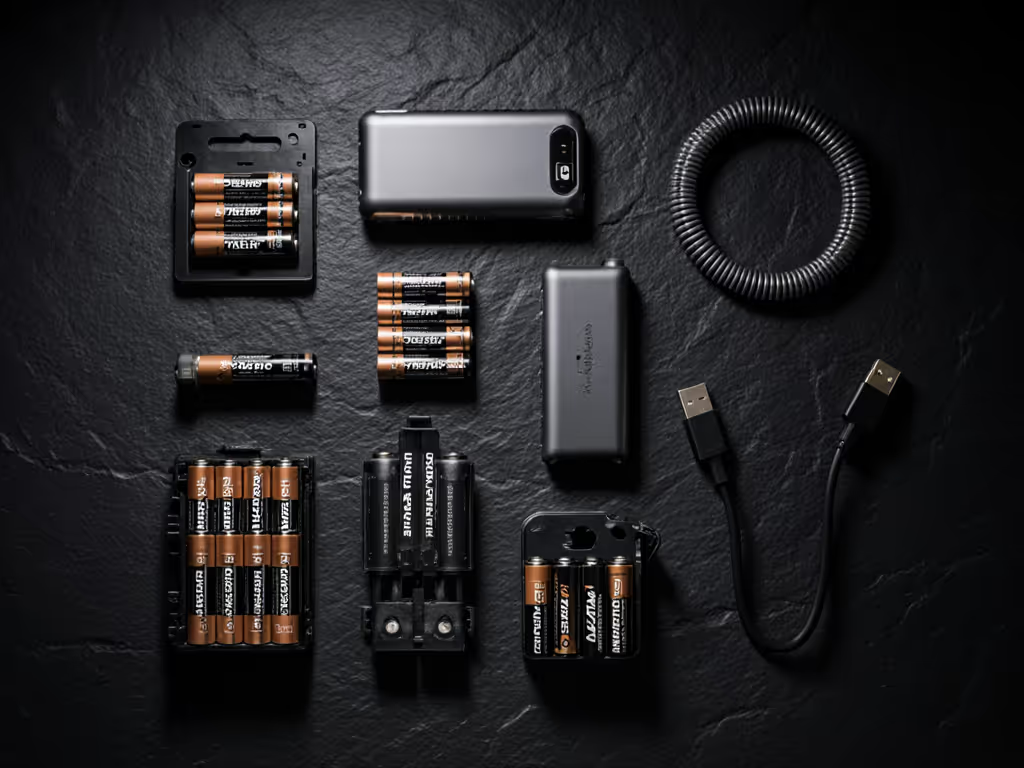
Cave temperatures hover near year-round baseline (often 50-55°F in North America). Li-ion and alkaline chemistries lose efficiency in cold, so expect 10-20% shorter runtimes than lab specs. If a manufacturer claims 15 hours at medium from a 18650 cell in a warm environment, plan for 12 hours in a cave. Always carry more capacity than you think you will need; a multi-day underground expedition should have 20-30% battery reserve per light, plus a full backup light per person. If you're choosing between rechargeable and disposable cells, our camping lantern battery guide compares long-term cost and reliability.
Moisture also shortens effective runtime by increasing resistance in battery contacts. Keeping cells and battery tubes scrupulously dry (a small cloth wipe before each trip) helps. USB-rechargeable integrated systems like the Wizard C2 sidestep the alkaline-cell-in-humid-cave problem by using sealed Li-ion packs with gasketted doors.
For multi-day cave camping, think in terms of daily recharge opportunities. If your camp has a generator or you are near an accessible cave mouth, plan to charge once daily at low or medium use. If you are deep-camp (moving weekly), bring three fully charged sets: one in rotation, one charging, and one as reserve.
How Do I Manage Multiple Lights and Avoid Group Coordination Chaos?
Cave groups need consistent light discipline. Every participant should have:
- A primary headlamp with at least 6 hours medium-mode runtime
- A backup headlamp (different model is better, redundancy through diversity)
- A shared area light (headlamp turned around, lantern, or reflector) for base camp
The pain point: standardizing brightness and warmth. If one person brings a 5000K tactical light and another brings a 2700K warm headlamp, the group struggles to agree on what they are seeing in rock formations. Agree on a kit beforehand: all primary headlamps same brand/color temperature, all backups compatible with the same battery type. Use a simple checklist: fully charge 24 hours before departure, tape battery labels with date and milliamp-hour capacity, and do a 30-second on-check at the cave entrance.
For children on cave trips, warm-setting headlamps with soft, diffused beams are best. A lit cave will not feel as claustrophobic if the light feels cozy rather than harsh. In my own experience, subtle warm light turns a child's first cave from intimidating to intimate, the stone becomes a story, not a threat.
What Mounting, Sealing, and Durability Features Matter Most?
Look for these specifics:
Gasket and Sealing Design: Dual o-ring gaskets (like those on the Wizard C2) handle pressure changes as you descend and ascend, plus temperature swings. Single seals fail faster in aggressive cave environments.
Waterproof Depth Rating: Caves do not require deep-dive specs (10 meters / 30 feet is sufficient for most recreational passages), but the rating gives you confidence. If it is IP67-rated, it handles water jets; if it is only IPX4, it is splash-proof but not suited to muddy crawls. Not sure what those ratings mean? Use our IP rating guide for camping lights to match protection levels to your route.
Lens and Reflector Materials: Mineral glass or quartz outlasts plastic in cave abrasion. A quality TIR (Total Internal Reflection) optic or smooth reflector resists scratching and maintains beam shape longer than scored mirrors.
Removable vs. Integrated Batteries: Integrated Li-ion (Micro-USB or USB-C rechargeable) is convenient but harder to repair. Removable 18650 or AAA cells let you swap failed units and control battery brand/quality. No single answer, but know the tradeoff.
Mechanical Lockout: A simple twist-lock or magnet-hold (not a multi-click menu) prevents accidental triggering in your pack. Touching a light 100 times during a crawl wastes energy.
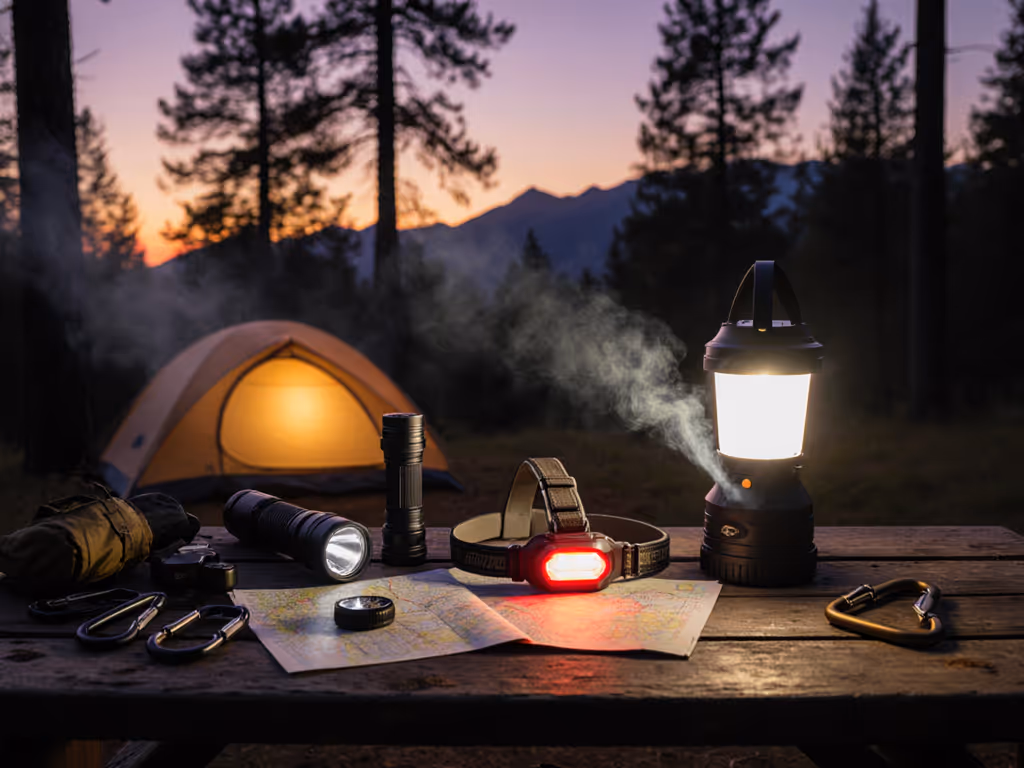
How Do I Build a Sustainable, Etiquette-Conscious Cave-Camping Light Kit?
Beyond personal safety, light etiquette matters. Underground camps often gather teams; a bright, cool-white light blasted at the group will destroy night vision and mood. Here is a framework:
Personal Layer: Headlamp (warm, 200-300 lumens, high-CRI) with discrete high/low switch. Red-filter clip for reserve navigation.
Shared Layer: One lantern or adjustable-beam light (100-150 lumens warm, USB-rechargeable) for the common area, placed low or shaded to avoid face-level glare.
Task Layer: A compact handheld or second headlamp for geology observation, first aid, or cooking.
Backup Layer: At least one fully charged discrete headlamp per person, stored separately.
For sustainability: buy durable, repairable lights with standardized batteries and accessible user manuals. See our picks for repairable camping lights if you want gear you can service for years. Avoid single-use disposable alkalines and proprietary packs. Warm-tinted, dimmable lights reduce the lumens-per-person required, lowering total energy demand. Well-designed light etiquette also builds group cohesion, it is a signal of respect.
What's the Practical Checklist for My First Cave-Camp Trip?
Before you enter:
- Charge and label all lights 24 hours before departure; note capacity and last-charge date on tape.
- Test in darkness (at home, at night) to confirm brightness and runtimes match your plan.
- Pack three ways: primary on body, backups in pack separated, shared lantern in base camp kit.
- Inspect gaskets and threads they should be clean, dry, and seated.
- Carry a small microfiber cloth to wipe lenses if condensation forms.
- Set group brightness norms before descent: "Low for socializing, medium for travel, high for obstacles."
- Use a timer during your trip, log actual runtimes to refine future estimates.
- Plan a post-trip battery swap to refresh drained cells and let your charger fully top off integrated Li-ion packs.
Further Exploration
Cave lighting is both personal and collective, your light affects your vision, safety, and how others experience the journey. Start by pairing a warm-setting, high-CRI headlamp with a compact lantern or handheld backup; this two-layer approach handles 95% of recreational cave trips. Join local caving or NSS-CRF (National Speleological Society - Cave Research Foundation) groups to see how experienced cavers configure their kits; peer testing beats marketing specs. Invest in gasket maintenance, USB standardization, and a simple charge calendar. Over time, you will build intuition around lumens, runtime, and the kind of light that makes rock feel like home rather than hazard. That is when light becomes true hospitality, not because it is bright, but because it serves the place and the people in it.
Related Articles