Tent Camping Lights for Night Photography: A Guide
By Sofia Alvarez • 28th Apr
When dusk settles over the campsite and you're hunting for that perfect astrophotography shot, the light you choose becomes an extension of your intention. Tent camping lights designed for night photography require a different logic than casual illumination, they must serve the moment without erasing it. The challenge is finding an astrophotography lighting kit that balances practical visibility with the dark-sky respect and technical precision that night work demands. This is where most camp lighting fails: manufacturers chase lumens while photographers need intention.
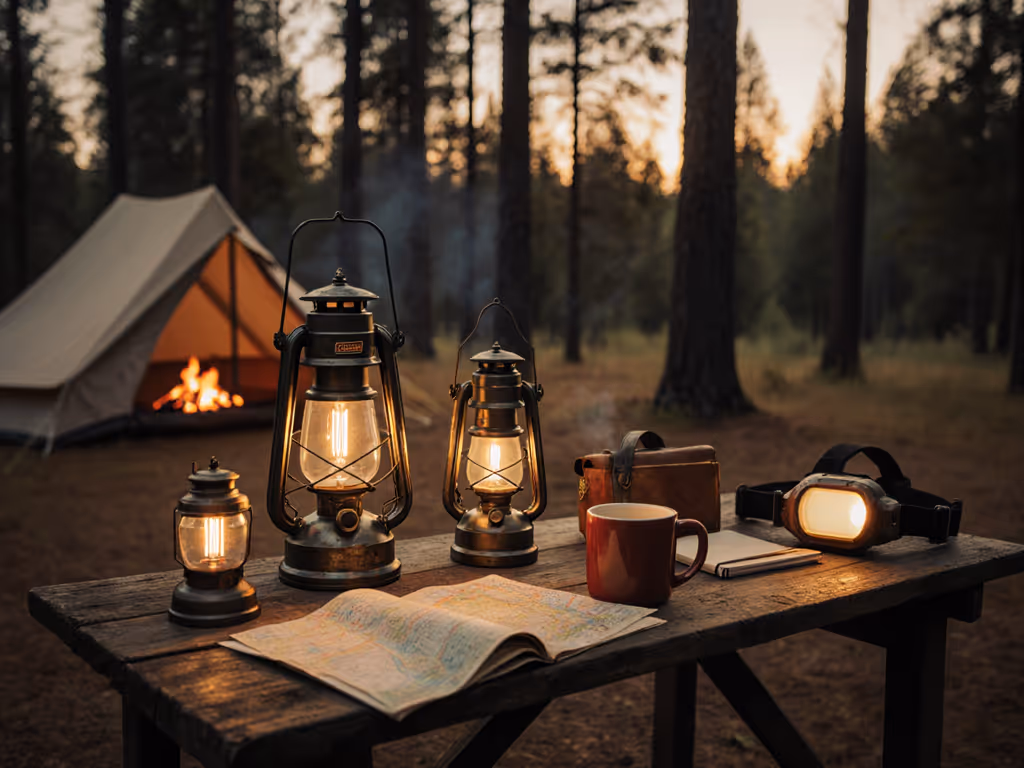
My grandfather's lantern sat at our picnic table year after year, a brass vessel that smelled of camp fuel and memories. I watched it, how people gathered closer when its warm glow pooled on the checkered cloth, how moths danced without chaos, how the stars above remained visible. That lantern was loud and sooty, built for an older ethic. Decades later, I've spent hundreds of hours testing modern alternatives, searching for the same quiet magic with better tools. High-CRI LEDs, matte diffusers, and thoughtful dimming aren't nostalgia, they're design serving the moment.
The Night Photography Problem: Why Standard Lanterns Miss the Mark
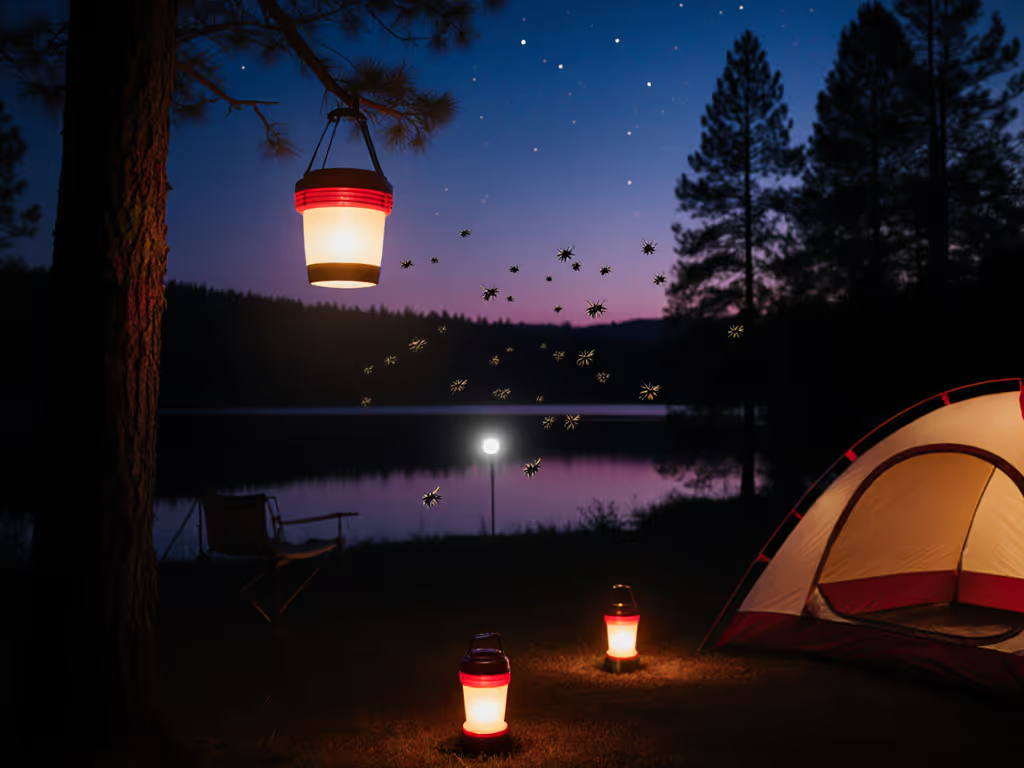
Night photography lighting requirements diverge sharply from what makes "good" general campsite lighting. A 600-lumen beacon that works for eating dinner becomes a problem when you're composing a Milky Way frame or trying to preserve your night vision for dark-sky observation. The harsh, blue-shifted output of most camping lanterns creates frame contamination, flattens shadows, and destroys the mood that brings photographers to wild places in the first place.
Standard camping lanterns also suffer from predictable design shortcuts: sealed construction (impossible to upgrade or repair), proprietary batteries that vanish after three seasons, inconsistent user interfaces that bury red-mode access beneath five menu clicks, and vague runtime claims. A manufacturer claims 50 hours of runtime at "medium brightness"... a specification so elastic it's nearly meaningless. You arrive at camp with unknown charge levels, mismatched power systems across your headlamp, lantern, and backup light, and no confidence that you'll have adequate illumination through the trip.
Comparative Analysis: Lantern Types for Night Work
LED Rechargeable Lanterns: Flexibility Over Simplicity
Modern rechargeable LED lanterns represent the most practical category for photography-aware campers. The Goal Zero Lighthouse 600, identified as the most consistent performer across independent testing, delivers 600 lumens of output with a compact, versatile design[2]. Its power and range allow you to illuminate an entire picnic table for late-night return camps while remaining portable enough for backpacking trips[2]. The architecture is sound: hard plastic body, aluminum accents, and modular components that signal repairability.
What the spec sheet doesn't tell you: at full brightness, 600 lumens floods the scene with a cool-white cast (typically 5000-6500K) that obliterates stars and punishes night vision. Real photographers use it as a basecamp anchor, never at maximum, and pair it with warm red or amber aux lights for actual work. The UI follows the tired pattern of multi-function buttons, fast access to red modes requires navigation, not instinct.
The BioLite AlpineGlow 500 takes a different approach, emphasizing color temperature flexibility and warm tints from the ground floor[3]. This signals a designer who understands that campsite lighting is about feeling, not just visibility. Fifty percent dimmer than the Lighthouse 600, it suits smaller groups and photography camps where fewer lumens mean fewer compromises. The exact materials and repair path are less transparent than ideal, but the philosophy is right.
Solar and Hybrid Systems: Power Independence
The LuminAID PackLite series bridges portable inflatable design with solar charging, a practical choice when you're staying in one place for multiple nights and weather permits panel exposure[3]. Inflatable construction offers ultralight packing, critical for backpacking, and its collapsible form diffuses light softly over a wide area, reducing glare and hotspots that plague rigid lanterns. Runtime is modest (6-12 hours depending on model and charge), suitable for supplemental task lighting or backup rather than primary camp illumination.
The trade-off is real: solar panels are slow (plan 6-8 hours in full sun for a full charge), weather-dependent, and their output degrades with dirt, condensation, and angle misalignment. If you're testing this route, size the panel conservatively (a marketed "25W" panel rarely delivers that in field conditions). Carry a compact USB-C power bank as insurance.
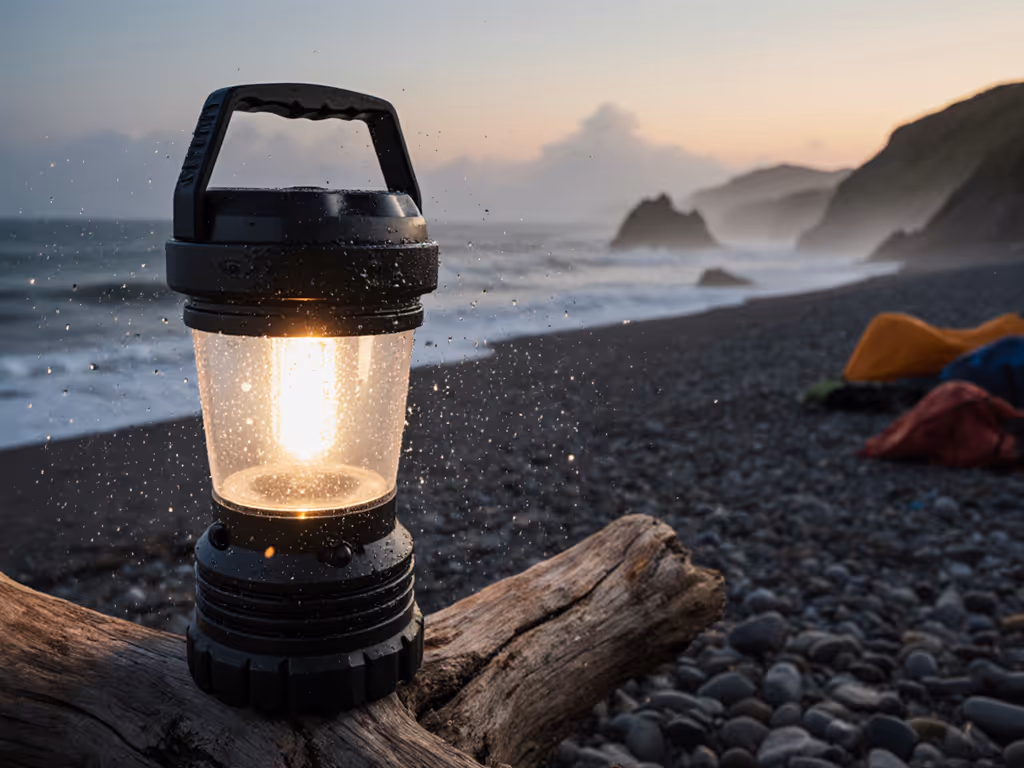
Specialized Photography Lights: Purpose-Built Precision
For serious night photography work, the comparative analysis shifts away from general lanterns. Warm-tinted, dimmable LED panels with CRI values above 90 (ideally 95+) preserve color accuracy during long exposures and avoid frame contamination. Look for 2700K or 3000K color temperatures, mounting capability, and USB-C charging with power-delivery fast charging. These aren't typical "camping" lanterns but rather photography-grade task lights, more expensive, narrower use, but designed for the work.
The critical difference: a high-CRI, warm light at 20% brightness lets you move around camp, adjust gear, and scout compositions without resetting your pupils every five minutes. Standard camping lanterns force you to choose between visibility and night vision. Purpose-built options let you have both.
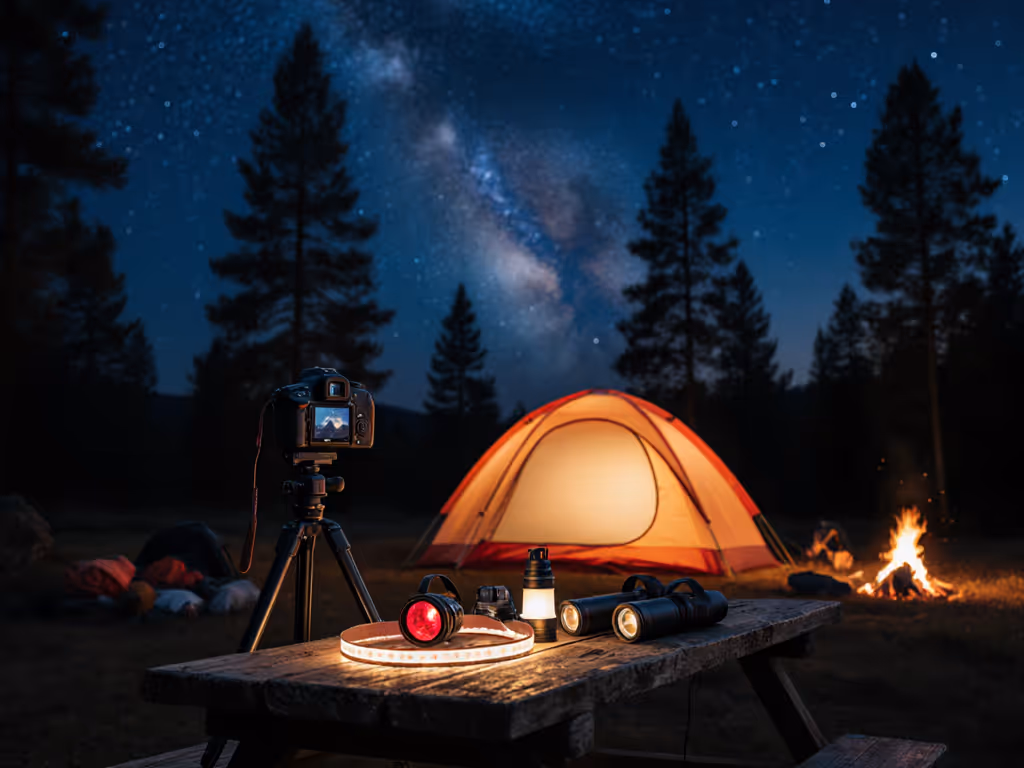
Campsite Photography Setup: Building Your Lighting Kit
Effective night photography lighting isn't about one perfect lantern, it's a system of layered tools, each with a clear role.
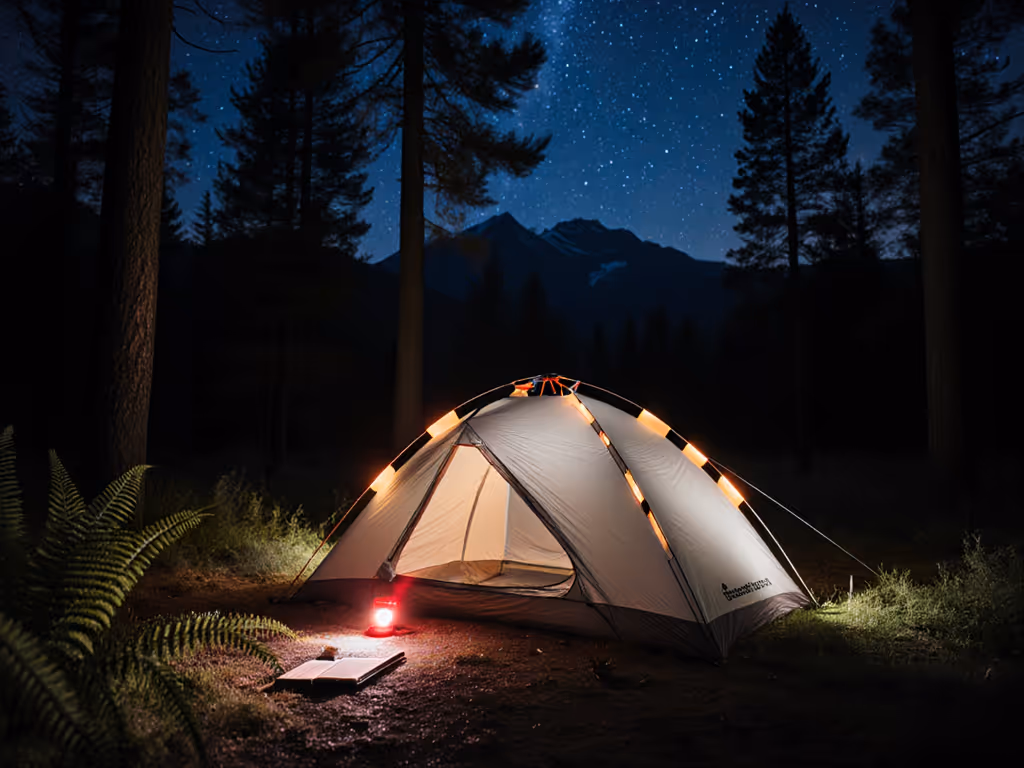
Primary ambient light: A warm-white (2700-3000K) rechargeable lantern at 20-40% brightness, positioned to create soft pools rather than harsh beams. This supports movement, cooking, and socializing without triggering frame glare.
Task/utility light: A compact headlamp or handheld LED with high CRI, warm tone, and red-mode access for composition work, gear sorting, and safety after dark. USB-C rechargeable, standardized battery format (18650 or 21700 cell), and a reliable lockout mechanism prevent accidental turbo bursts.
Path and tent illumination: Low-power string lights or diffused accent lights (amber or warm white, <50 lumens each) placed along routes and tent entries. These guide movement without broadcasting your location to neighbors or wildlife.
Backup/reserve: A small solar panel paired with a modest power bank covers contingency charging if the trip extends or weather delays return-to-base days.
The entire system operates on USB-C where possible, with spare 18650 cells kept charged at home and labeled clearly. This centralization eliminates the AAA-versus-18650 confusion that causes trip-ending power crises.
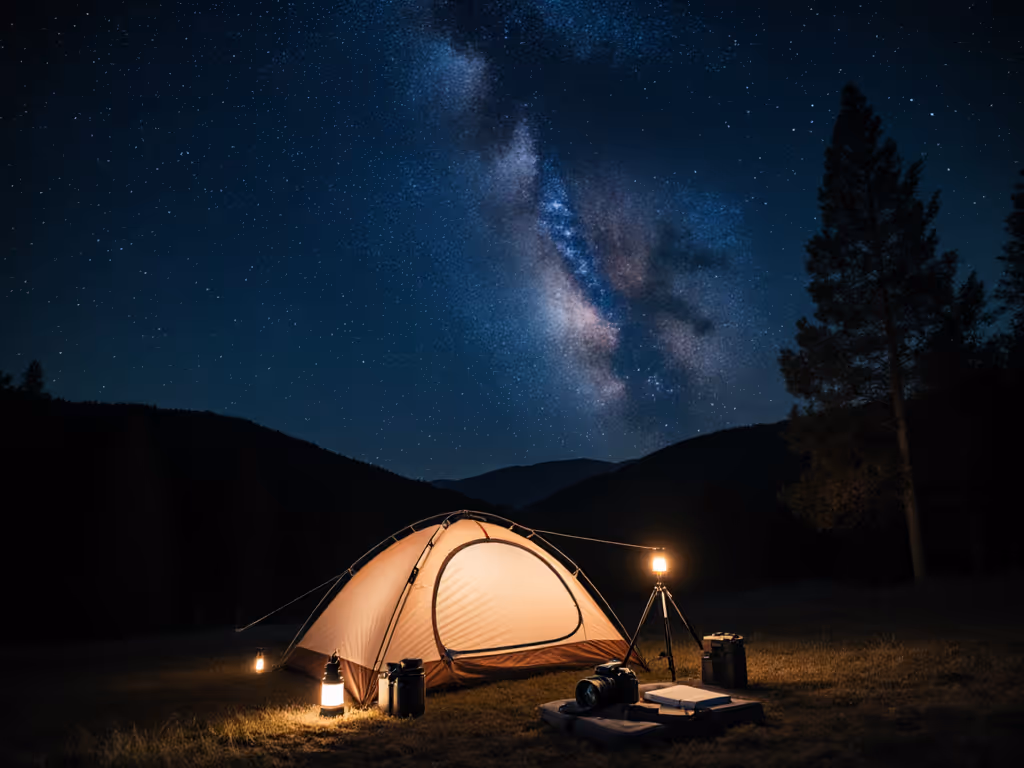
Low-Light Photography Techniques: Let Light Serve the Frame
Your camera sees differently than your eyes. A light that feels "ambient" in person will dominate a 30-second exposure. The discipline is restraint.
Position lights outside the frame or deep within warm-tone diffusion. Direct beam onto a subject produces harsh shadows and color casts; bounce light off tent fabric or diffusing screens instead.
Use red light exclusively during composition and exposure work. Red wavelengths (630-700 nm) are least damaging to night vision and least likely to contaminate astrophotography frames. Switch to white light only after you've packed the camera and are moving about freely.
Dim aggressively. A lantern at 10% brightness, positioned behind you rather than aimed at your subject, is usually sufficient for ground-level work. This habit also preserves battery life across multi-night trips.
Match color temperature to your light source. If you're using a 3000K warm lantern, your eyes and camera adapt together; mixed temperature lights (one warm, one cool) create visible color shifts in long exposures.
The Dark-Sky and Neighbor Ethic
Camping ethics increasingly include light discipline. Many parks now restrict white light after certain hours or require directional, downward-facing fixtures. For location-specific guidance, see our guide to national park lighting rules. Your camp site lighting choices ripple outward: spill light onto neighbors' tents degrades their sleep and astronomy experience, and upward beam waste contributes to sky glow.
Design restraint matters here. A lantern without a diffuser and baffle throws 30% of its light sideways and upward. Add a matte dome or wrap, reposition it lower, and you reclaim that light for your use while respecting the wider ecosystem. The best lanterns come with adjustable diffusion; the most thoughtful designs simply ship with matte, non-reflective surfaces that scatter rather than beam.
Power Planning: No More Battery Surprises
This is where most lighting kits fail in the real world. A lantern rated "50 hours at medium" doesn't tell you how long it actually runs at the 30% brightness you'll actually use, or how cold weather tanks Li-ion capacity by 20-30%, or what "medium" means when no standardized definition exists.
Calculate conservatively: assume 50% of the manufacturer's rated runtime at your chosen brightness level, and assume 20% battery loss due to cold, firmware overhead, and age. If you plan a five-night trip with evening and pre-dawn sessions, estimate 4-5 hours of active light use per night at practical (warm, dimmed) levels. A 3000 mAh USB-C lantern delivers roughly 12-15 hours of real-world runtime at 30% brightness in cool conditions, enough for three nights with 20% reserve. Plan a fourth night backup separately.
Design serves the moment, and the moment demands honesty about power reserves. Arrive with surplus confidence, not mid-trip anxiety.
Standardize your charging ecosystem: USB-C input and output, 18650 or 21700 cells, and a charge-through hub so you can recharge lights and power banks simultaneously from a single source (solar panel or vehicle outlet). Test your setup at home before the trip, this five-minute pre-trip check eliminates nearly all camp-power chaos.
Materials, Durability, and Repairability
A lantern you live with must age gracefully. Aluminum bodies resist corrosion better than bare plastic; diffusers and diffusion materials matter: matte polymethyl methacrylate (PMMA) or frosted polycarbonate diffuse light evenly, while glossy polycarbonate creates hotspots and glare. Seals around battery compartments should be silicone, user-replaceable, and rated for moisture and temperature swings.
Ask: Can I replace the diffuser if it scratches? Are fasteners standard Phillips or hex, accessible without proprietary tools? Can the battery be swapped, or is it soldered in? Most modern camping lanterns fail on this audit, sealed construction and proprietary internals make them disposable after 3-5 years. A few brands (Goal Zero, BioLite) maintain spare parts availability and transparent service paths. That repairability premium (often 20-30% higher retail cost) pays back across seasons and justifies the investment if you're serious about the work.
Putting It Together: The Night Photography Camp Kit
A functional system for a three-to-five-night photography camp with a partner or small group:
- One warm-white (2700K+), dimmable rechargeable lantern: 200-400 lumens, high CRI (90+), USB-C input, matte diffusion, cost $60-140
- Two USB-C headlamps: compact, warm-tint option, reliable red mode, 500-1000 mAh cells, cost $50-100 each
- One compact solar panel and power bank: 10-20W panel, 10000 mAh bank, as backup charge infrastructure, cost $80-150 combined
- Spare 18650 cells: two or three fully charged before departure, stored in labeled plastic case, cost $30-50
- Diffusion and mounting kit: small diffuser domes, tripod mount adapter, cable clips, cost $15-30
- Total: $285-570 for a durable, integrated system.
This is not the cheapest path, a single 600-lumen sealed lantern runs $80-100. But this kit operates as a system: standardized charging, complementary brightness levels, matched warm tones, user-swappable components, and enough power reserve to cover weather delays or extended trips without mid-night anxiety.
Summary and Final Verdict
Tent camping lights for night photography require a different standard than general campsite illumination. Your priority is night vision preservation, frame integrity, and an aesthetic that doesn't fight the landscape. This eliminates most mass-market lanterns immediately, they're too bright, too blue, too rigid, and too disposable.
The Goal Zero Lighthouse 600 remains a capable basecamp centerpiece if used at 20-30% brightness with warm ambient light as your default, never as the primary fixture[2]. It's versatile and tested, though its cool-white native output and sealed design work against it for serious night work. The BioLite AlpineGlow 500 better aligns with photography-camp values: warmer default tint, thoughtful design language, and a smaller footprint that suits intimate groups[3].
For backpacking and ultralight trips, the LuminAID PackLite series earns its weight as a collapsible, solar-capable option if you pair it with USB-C charging infrastructure and realistic expectations about solar performance in the field[3].
The real victory isn't picking one lantern, it's building a kit where each light has a purpose, where every piece charges from the same cable, and where you arrive at your favorite dark-sky camp with 20% power reserve and no anxiety. That restraint, that confidence born from simple systems and honest specs, is where design disappears and the moment takes center stage.
Start with a warm-white, dimmable rechargeable lantern as your basecamp anchor. Add a pair of USB-C headlamps with red modes and reliable UI. Commit to 18650 cells as your standard battery format. Test the whole system at home on a three-day sim run. Then trust it. Good design is the art of restraint in service of people and place, and dark-sky photography demands exactly that.
Have you built a camping lighting kit that actually works across seasons? The best systems are often born from honest failures and iterative fixes. Share your setup and lessons learned.
Related Articles