Wilderness Lighting Regulations: Park-Specific Rules
By Amara Patel • 27th Mar
Before heading into any protected area (national park, state reserve, or designated dark-sky preserve), you need to know what lighting rules apply to your campsite. Regulations vary significantly by jurisdiction, and what's permitted at one park may violate guidelines at another. This article cuts through the complexity, showing you exactly what the standards say and how to build a dark-sky-compliant lighting kit that respects ecology, preserves night vision, and keeps your neighbors undisturbed.
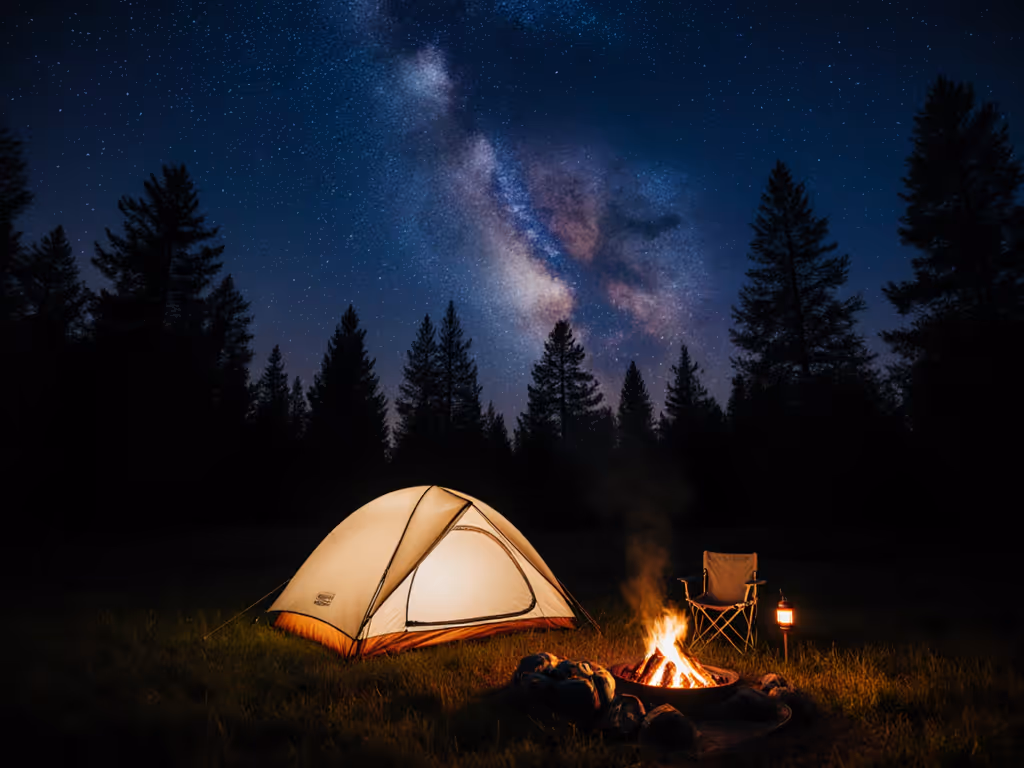
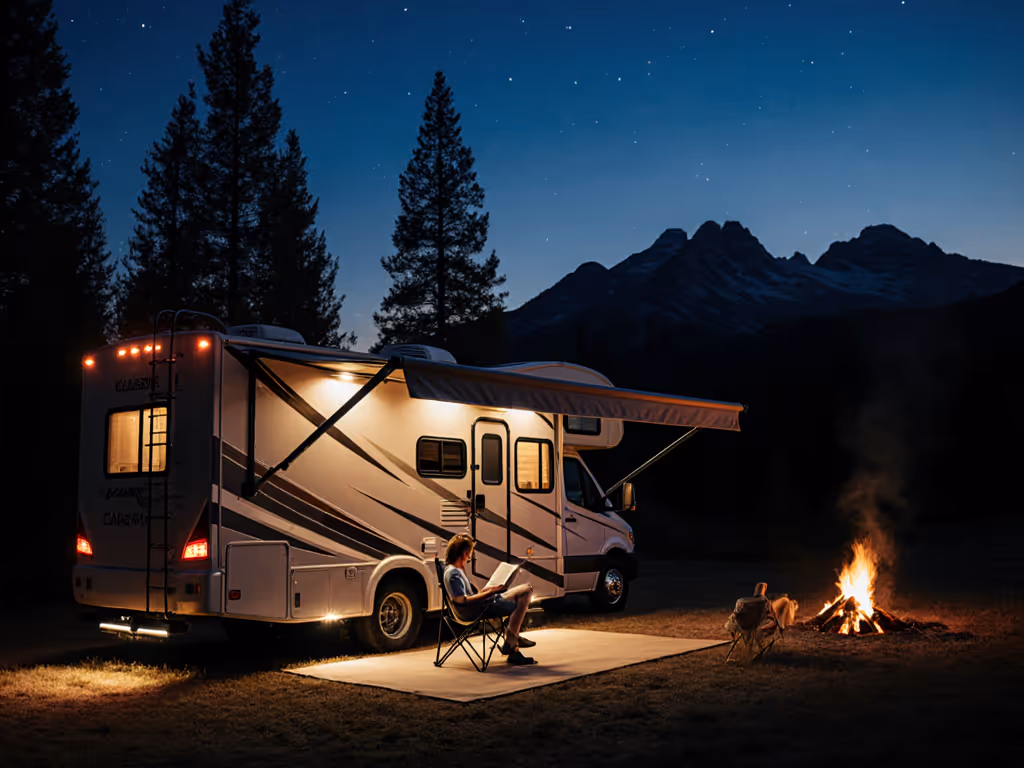
I learned this the hard way. Years ago at a windswept beach camp, our group burned through every lantern by night two, harsh, cool-white beams that killed the stars and, ironically, made everyone less safe and more anxious. When I reworked our kit using a single 10,000 mAh power bank, warm-tinted diffusers, and disciplined headlamp lockouts, something shifted. Same budget, half the weight, zero mid-trip blackouts. The conversations got softer, the stars returned, and no one complained. That's when I realized: budget is a feature, not a limitation. Spend less, waste less, light with intention and care.
1. Understand the Five Core Principles Behind Park Lighting Regulations
Most U.S. national parks and protected areas follow guidance derived from the International Dark Sky Association's five principles for responsible outdoor lighting. These principles form the backbone of official park standards:
- Useful: Lighting serves a real purpose; it isn't decorative or excessive.
- Targeted: Light is directed where it's needed, not scattered upward or sideways.
- Low-set: Fixtures are positioned close to the ground to minimize sky glow.
- Controlled: Timers, motion sensors, and dimmers ensure light is released only when necessary.
- Warm in color: Amber or warm-white bulbs (typically 2700K or lower) reduce atmospheric scatter and preserve natural darkness.
These aren't suggestions. They're enforced because cool-toned light penetrates the atmosphere far more efficiently than warm light, multiplying light pollution impact. For a deeper primer on dark-sky principles, see our Dark-Sky-Friendly Camp Lighting guide.
2. Know Your Specific Park's Lighting Requirements
The National Park Service provides a science-based framework for outdoor lighting, but individual parks and preserve systems may enforce stricter standards. For region-by-region rules and practical gear tips, read our national park lighting compliance guide. International Dark Sky Places (certified preserves with the highest protection level) mandate fully shielded fixtures (U0 rating), minimal illumination, and ultra-warm color temperatures, often 2700K or lower.
Before any trip, contact your park or preserve directly or check their website. Ask:
- Is night lighting required or allowed in campgrounds?
- Are there "Dark Times" (e.g., 2 hours after sunset onward) when outdoor lights must be off?
- Are specific color temperatures or shielding requirements mandated?
- Do permits exist for night photography, and what are the rules?
For example, four Utah parks have prohibited light painting entirely, while most parks allow low-level static lighting if wildlife and neighbors aren't disturbed. Grand Teton's concern centers on artificial light shining directly on animals. Getting this right beforehand saves you compliance hassles and fines.
3. Ask the First Question: Do You Actually Need Campsite Lighting?
The National Park Service's first principle is deceptively simple: Ensure the Lighting is Necessary. Before adding any fixture, ask whether reflective tape, paint, or passive surfaces could do the job instead.
In campgrounds, most visitors arrive with headlamps or flashlights. Additional ambient lighting may not be needed. For trails, reflective paint and signage suffice. For vehicle parking, reflective surfaces often replace traditional overhead lights.
This isn't just environmental stewardship, it is practical. Fewer lights mean:
- Lower power consumption and longer runtimes from batteries or solar panels.
- No spillover that wakes sleeping neighbors or disturbs wildlife.
- Preserved night vision for stargazing, astrophotography, or low-light activities.
Preparedness doesn't mean more lights; it means having exactly the right light, in the right place, at the right time.
4. Choose Fixtures That Are Fully Shielded and Directional
When lighting is necessary, shielding is non-negotiable. A fully shielded fixture (U0 rating) contains light within its intended zone and prevents uplight, the primary driver of sky glow.
In many park settings, the maximum lighting power density is capped at 0.7 watts per square foot where cost-effective. This is far lower than urban environments. More light doesn't equal safer conditions; in fact, uncontrolled glare can reduce visibility and increase safety risks.
When selecting fixtures:
- Confirm they have baffles or hoods that prevent sideways and upward scatter.
- Choose sealed LED units designed for camping; avoid open-bulb designs.
- Verify the beam pattern matches your task (flood for area lighting, spot for path marking).
- Test beam throw before your trip to confirm light reaches the intended target without spilling into neighbors' tents.
5. Implement Timers, Motion Sensors, and Dimming Controls
The fourth NPS principle is simple but powerful: Light Only When Needed. Timers and motion sensors dramatically reduce total light output and help wildlife dependent on dark skies.
Building this into your kit means:
- Using headlamps with reliable lockout modes to prevent accidental activation.
- Choosing lanterns with timer or dimmer options (many modern models include simple switches or built-in delays).
- Stationing lights away from tents and placing them lower than eye level to reduce direct glare.
- Setting a group protocol: lights off after a designated time, red-mode only for night trips to bathrooms or water sources.
This is where discipline pays off. A 10,000 mAh power bank that might run two bright headlamps for 5 hours can easily run low-intensity, warm area light for an entire multi-day trip, if you're intentional about when lights are on.
6. Prioritize Warm Color Temperature (2700K or Lower)
Electrical efficiency and dark-sky compliance merge at warm color temperature. High-efficiency warm LED bulbs are the standard recommendation because they conserve energy, require replacement less often, and minimize atmospheric light scatter.
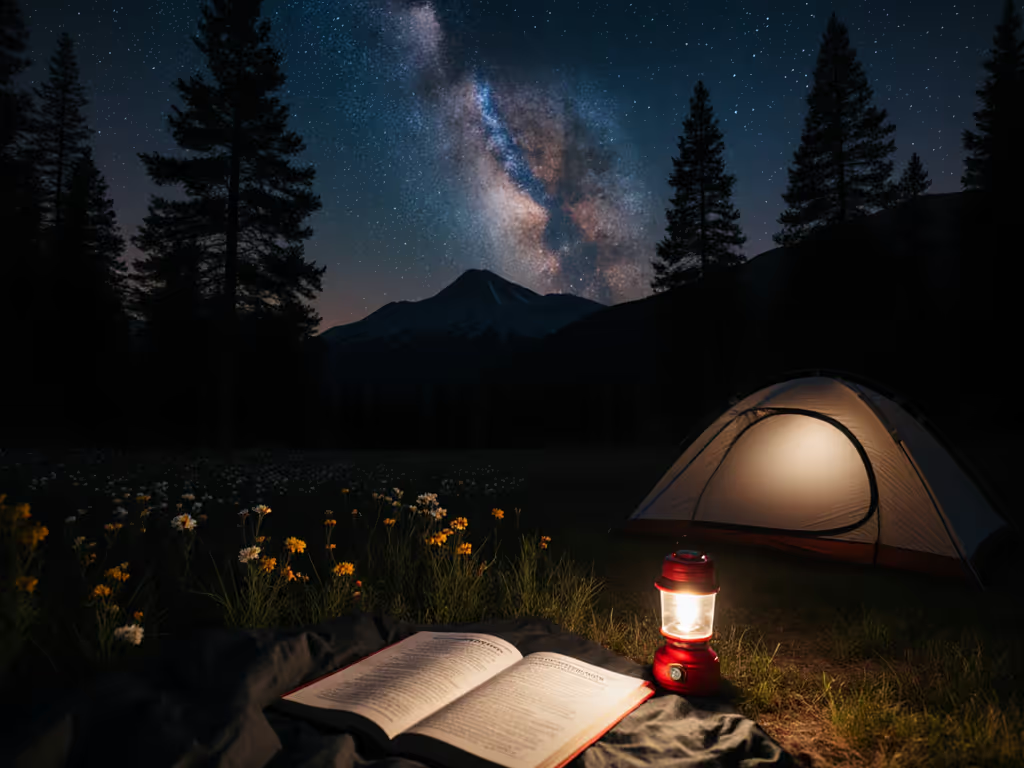
Cool-white (4000K+) and bright-white (5000K+) bulbs scatter more light into the upper atmosphere and suppress melatonin production, affecting sleep and wildlife behavior. To choose color temperatures that preserve night vision and wildlife, see our warm vs cool white guide. Warm amber (2200K-2700K) and deep red modes preserve natural darkness while remaining visible and navigable.
When specifying gear:
- Confirm CCT (correlated color temperature) in the product specs; "warm" is vague.
- Look for lanterns and area lights rated 2700K or below.
- Ensure your headlamp has a red-mode option for night hiking and bathroom runs.
- Test perceived brightness in the field; warm light often feels dimmer than it performs.
7. Calculate Minimum Illumination Levels for Your Tasks
The fifth NPS principle emphasizes using the Minimum Light Level Necessary. Urban lighting standards don't apply in parks; wilderness tasks require far less illumination. Use our lumens guide to match brightness to each camping task and stay within park limits.
Rough guidance:
- Hiking and wayfinding: 5-20 lumens (handheld, red-tinted headlamp).
- Campsite cooking and reading: 50-150 lumens (warm area light, positioned low).
- Setup and breakdown: 100-300 lumens (brief, task-specific).
- Emergency or security: 10-50 lumens (enough to identify hazards, not to flood the area).
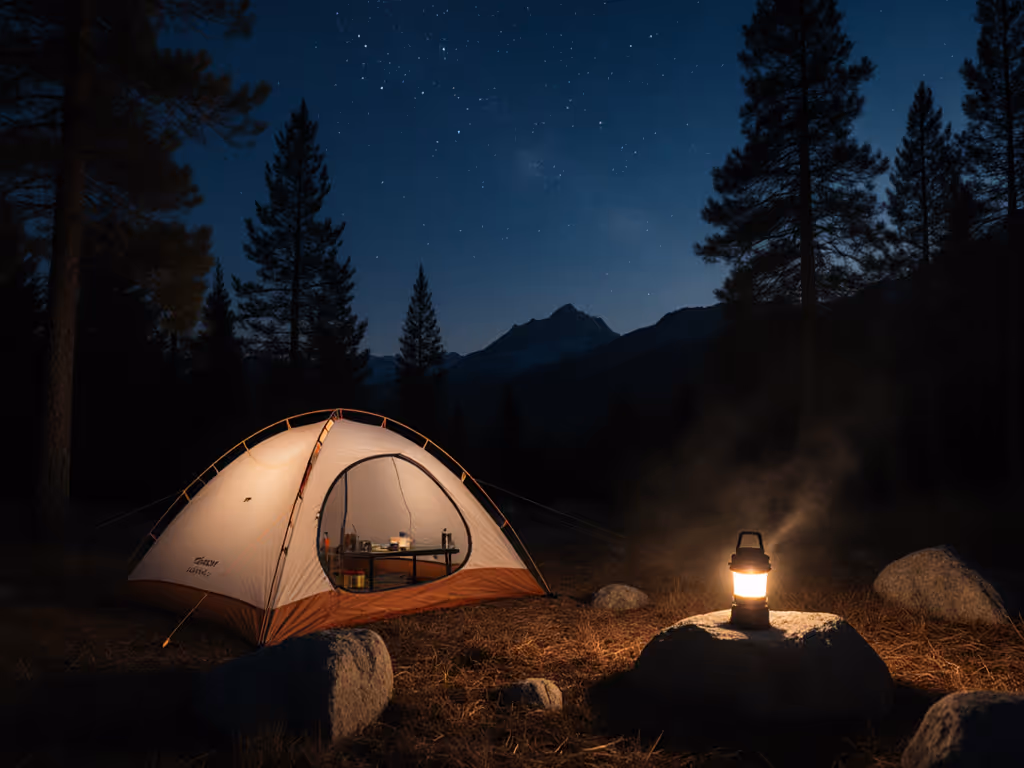
Most setups exceed these thresholds. A loadout of one quality headlamp (100-300 lumens, dimmable, warm or red mode), one compact lantern (100-200 lumens, warm, shielded), and one small task light (20-50 lumens, red mode) covers nearly every wilderness scenario. Lower lumen counts also extend runtime dramatically.
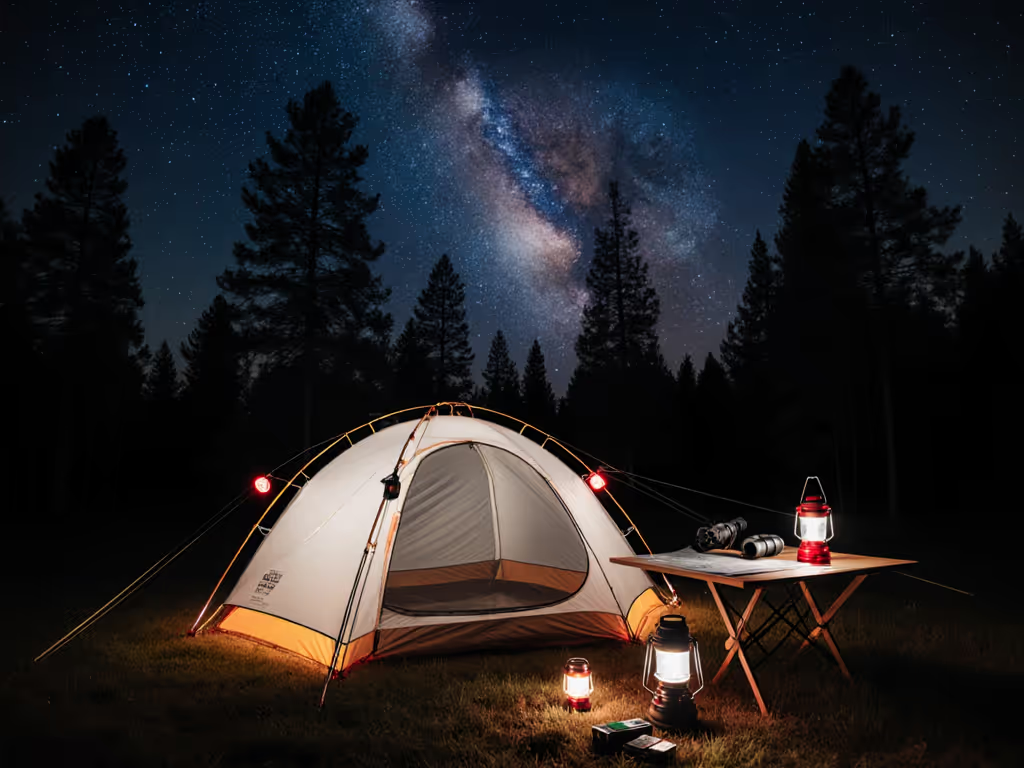
8. Build Your Dark-Sky-Compliant Lighting Kit Checklist
A practical dark-sky kit follows this structure:
- Primary headlamp: 100-200 lumens, dimmable, warm/red mode, replaceable 18650 or 21700 cells, IPX4+ rating.
- Area lantern: 100-150 lumens, shielded, warm tint (2700K or lower), with diffuser cap to soften spill.
- Backup path light: 10-50 lumens, red-only mode, clip or stake-able.
- Power bank: Capacity matched to runtime needs (typically 10,000-20,000 mAh for multi-day trips).
- Charging cable: USB-C to match modern standards and minimize cable clutter.
- Spare cells: If using 18650/21700 format, carry one set fully charged.
Total weight: under 2 pounds for a three-day trip. Total cost: $80-$150 if you skip branded bundles and choose modular, repairable pieces.
9. Create Your Pre-Trip Verification Routine
Before packing, confirm:
- Park lighting rules and dark times.
- Group size and number of tents to anticipate spillover concerns.
- Whether night activities (photography, astronomy) are planned; if so, check permits.
- Battery charge levels and estimated runtime at your chosen brightness and color settings.
- Fixture condition: lens clarity, seal integrity, beam focus.
- Cable compatibility: ensure all chargers match your power bank and devices.
10. Next Steps: Verify, Document, and Test
Contact your intended park or preserve this week and request their current lighting guidelines in writing. Many parks have updated rules in recent years. Document the specifics (color temperature limits, fixture requirements, Dark Times) and add them to your trip prep checklist.
Next, audit your existing lighting. Measure CCT if possible (many phones have apps), test beam patterns in your yard, and note which pieces align with dark-sky standards and which need replacing. This is where intentional spending begins: retire cool-white disposable lanterns and invest in one warm, dimmable, shielded fixture that will serve dozens of trips.
Finally, test your full kit during a car-camp or backyard overnight. Time your battery runtime, verify beam quality and color, confirm headlamp lockouts work reliably, and practice setting lights in low positions away from eye level. This builds confidence and catches surprises before your trip.
When you arrive at camp, you'll place lights deliberately, turn them off on schedule, and leave the stars where they belong (visible to everyone). Your neighbors will sleep better, wildlife will move more freely, and you'll remember the night sky instead of the glare. That's not restraint; that's clarity.
Related Articles